

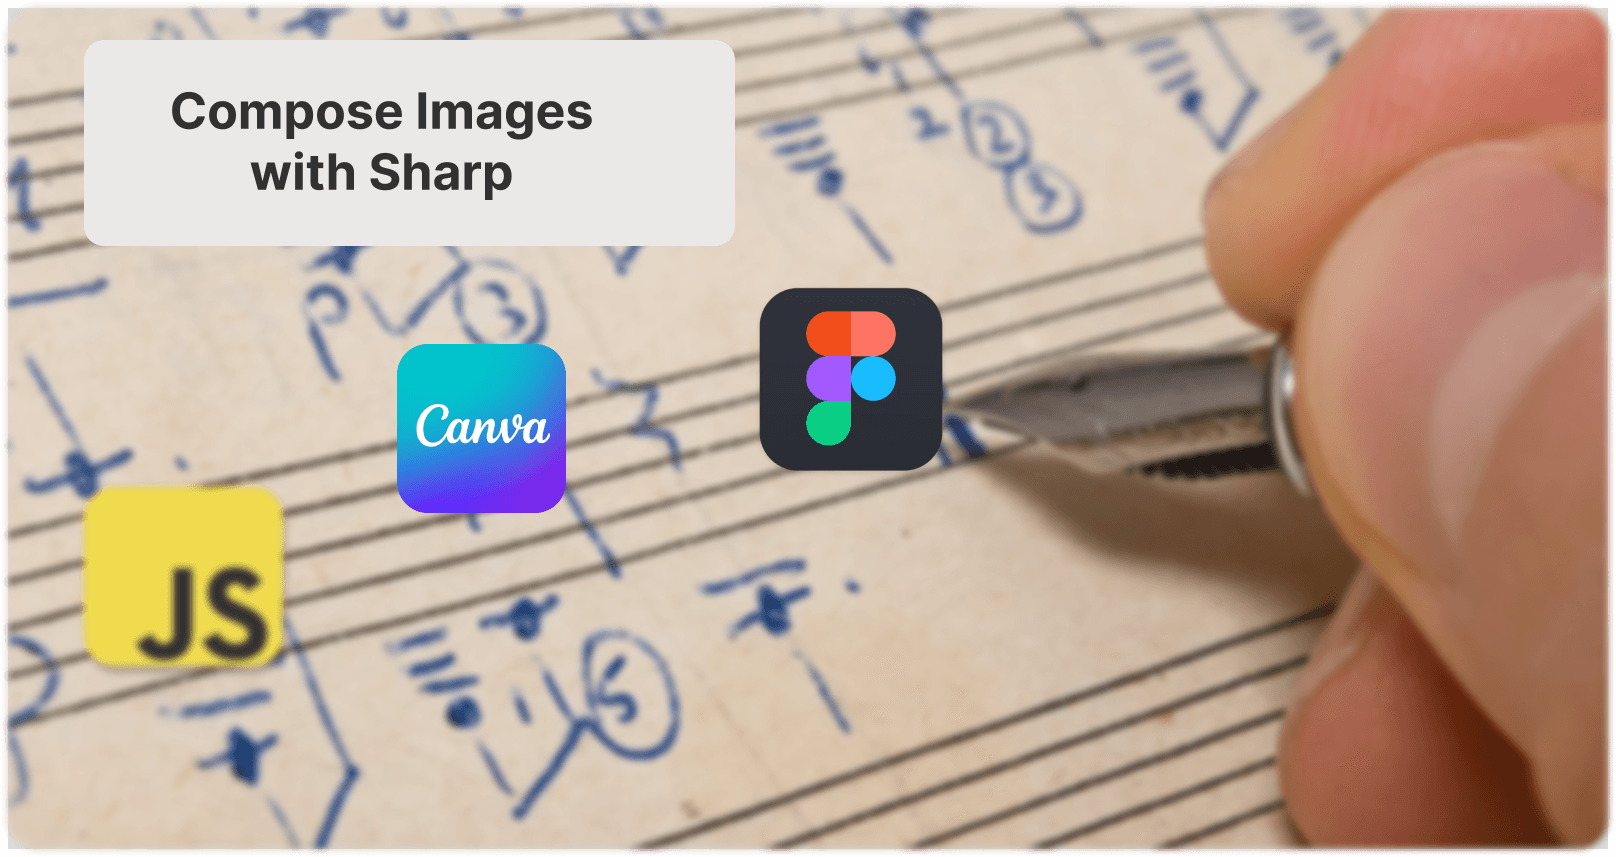
Generate Custom Event Tickets in NodeJS
This post has a YouTube companion! You can check it out here or continue reading 🦦
Have you ever found yourself in a situation and thought, "We're in 2024, and we're still doing it this way?".
My neighborhood sold paper tickets so that strangers could come in and see the home decorations. I volunteered to have my home as a tour stop because it sounded like a way to meet new people in the area.
What I didn't realize until the day of was that all the tickets were the same. There was no tracking process. They were just paper tickets handed out after paying through Venmo. Furthermore, the tickets weren't collected or redeemed.
So I came up with a solution where someone could purchase a ticket online and have it texted to them. The ticket would contain a unique code, and their name.
This post will focus on the ticket generation aspect!
If wanting to skip to trying this out on your own, I have an entire repo that you can use. Follow the readme to get started and begin making your own tickets!
Choosing a ticket template
Our goal is to turn the following image:

Into a template that we can make our own:
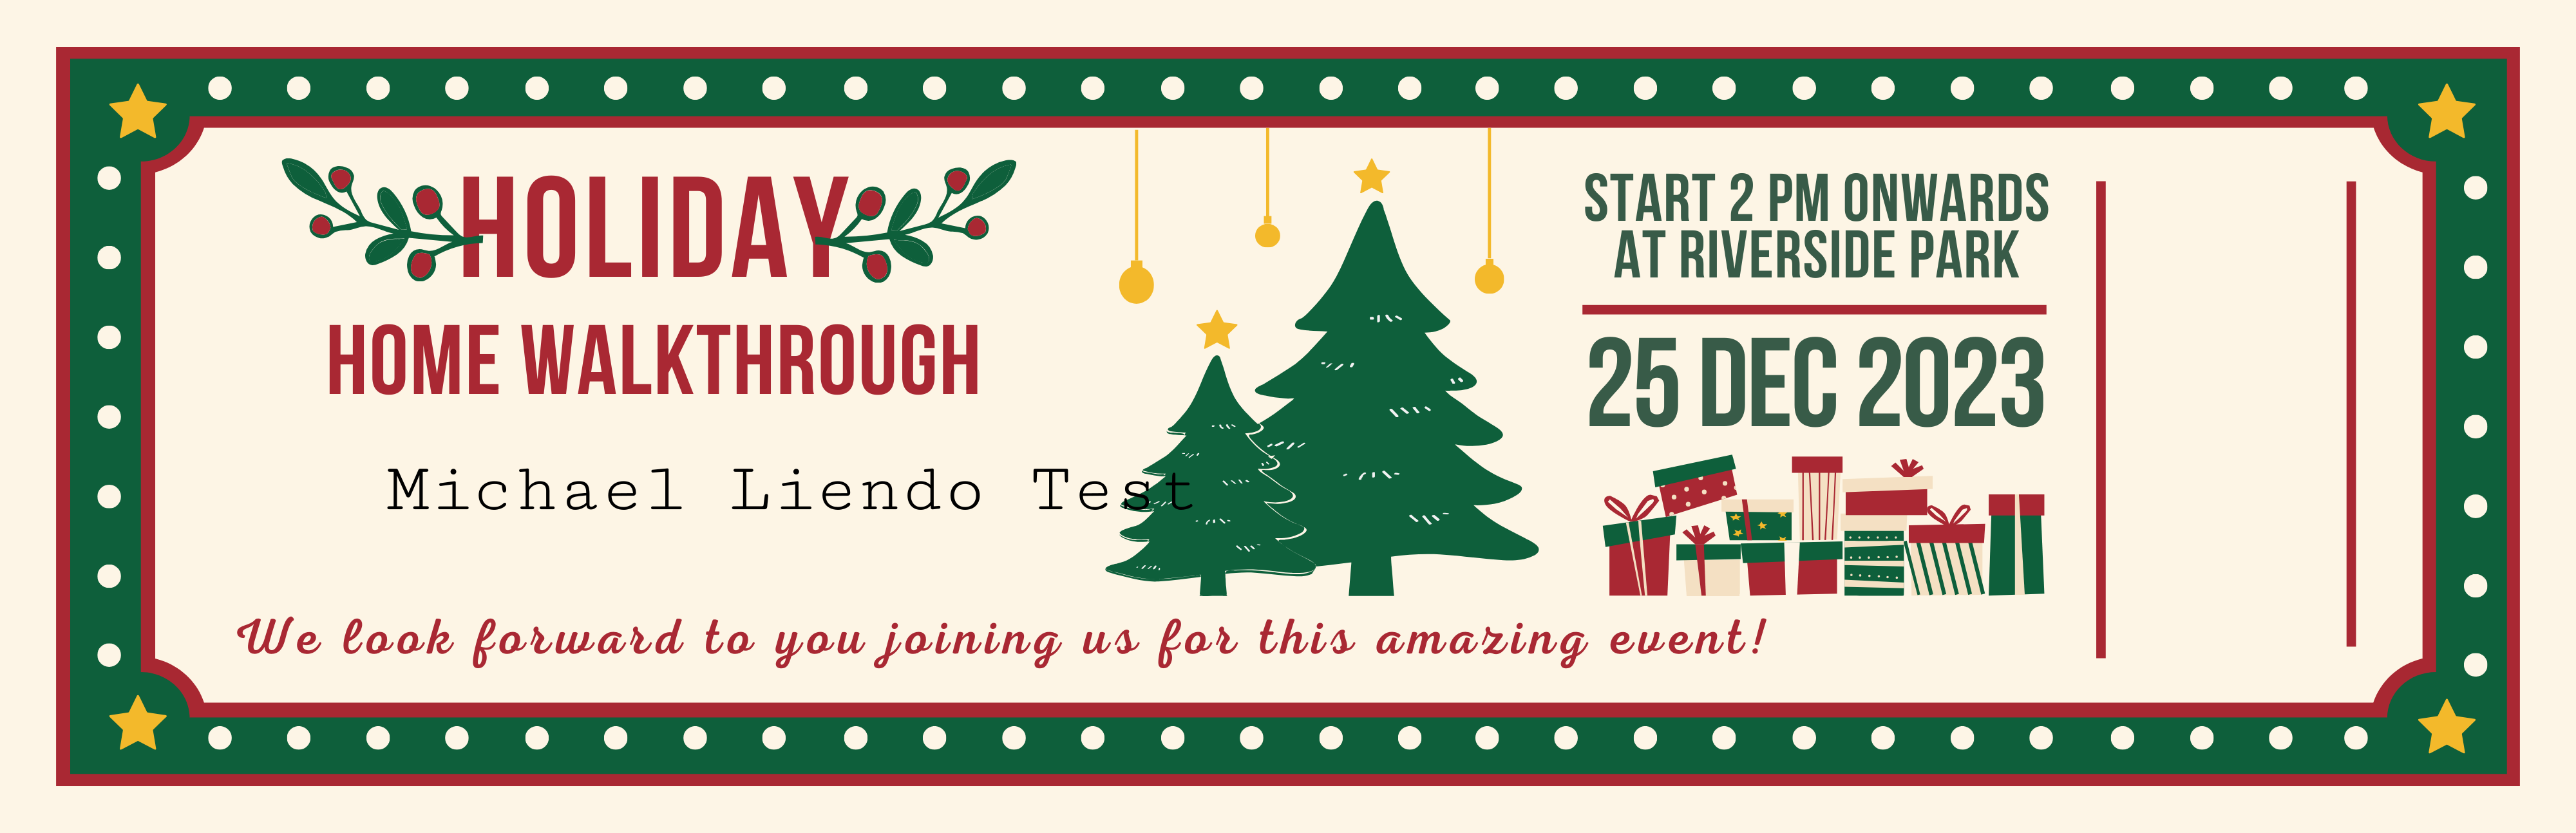
For that, I went to Canva and simply typed "Holiday ticket". From there I tweaked it until I was satisfied, making sure to leave space on the right-hand side for a QR-Code/Barcode, and in the center for the name.
Project Setup
We'll do all this locally for now. As mentioned, in later posts, we'll see how to automate the ticket distribution process and trigger it from a successful payment.
Inside a new project folder, run the following command from your terminal:
npm i bwip-js sharp text-to-svg
bwip-js: Used to create SVG, Buffer, Barcodes, and QR Codes in code
sharp: Super popular image manipulation library, known for its speed and ease-of-use
text-to-svg: A dependency-less way to create turn text strings into an SVG
With these packages installed, create an index.mjs file and paste in the following imports and variables:
import sharp from 'sharp'
import * as path from 'path'
import bwipjs from 'bwip-js'
import { fileURLToPath } from 'url'
import TextToSVG from 'text-to-svg'

const __filename = fileURLToPath(import.meta.url)
const __dirname = path.dirname(__filename)
When using
.mjsfile extensions, the__dirnamevariable isn't available. To mimic this behavior we create our on using thefileURLToPathmethod.
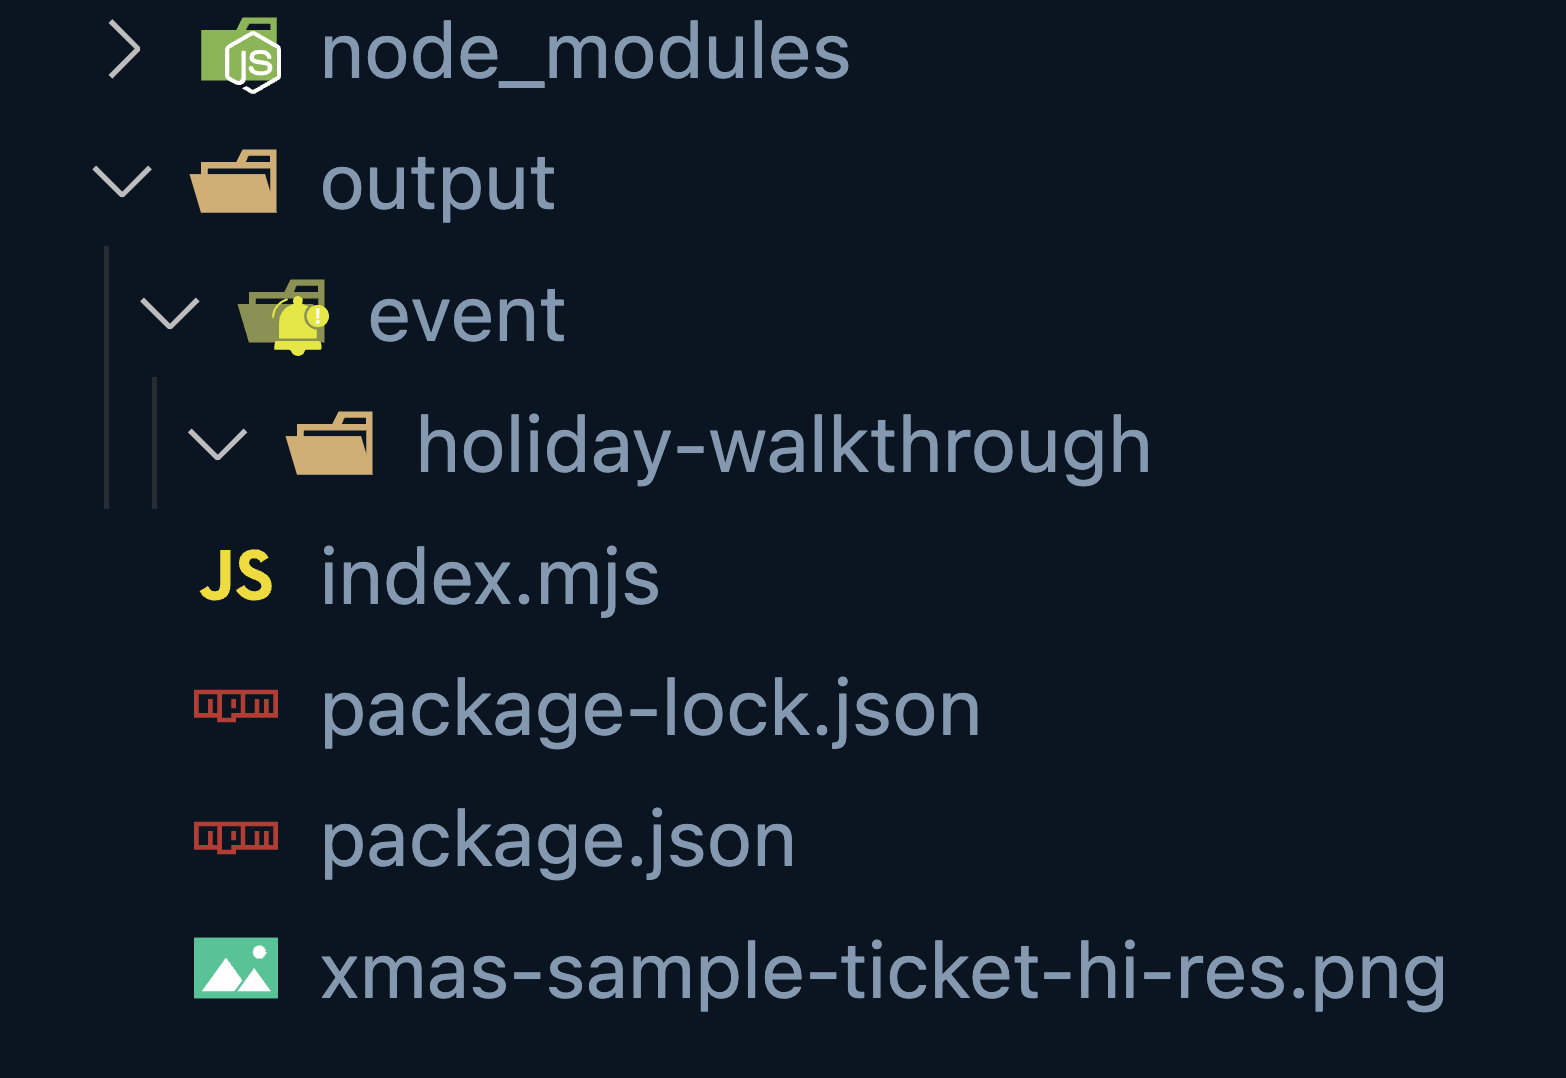
Next, ensure the templated image you created from Canva is in the root of your directory.
Lastly, create a folder where you would like to have the newly created image saved. This will be in your project's directory, but feel free to call it whatever you like. For me, I'm creating an output/event/holiday-walkthrough folder path.
When all done, your file tree should look similar to the following:
Creating an SVG from text
A text string, is different from a text image. While we may look at text on an image and think "Oh, it's just text". Making the distinction upfront helps us think in layers.
Fortunately, the text-to-svg package will do all the work for us.
Paste in the following code in your index.mjs file:
// Create an SVG from text
async function generateSVG(text) {
  const textToSVG = TextToSVG.loadSync()
    try {
        const svg = textToSVG.getSVG(text, {
            fontSize: 110,
            anchor: 'top',
            attributes: { fill: 'black' },
        })
        return Buffer.from(svg)
    } catch (err) {
        console.error('Error generating SVG:', err)
        throw err
    }
}
This function is broken up into 3 main parts:
Instantiating
textToSVG. TheloadSyncfunction optionally takes in a font path, but more on that in a future post 😉Creating the SVG from text. Nothing too crazy here. We give it a font size, an anchor point, and a color. The docs for this package are really helpful, so feel free to play around with the
attributes.Returning an SVG buffer. Large amounts of text are best held as a buffer. This is just an in-memory way to contain large amounts of data. Similar to a variable, but for complex data-types like images.
Creating a QR Code and Barcode in NodeJS
The bwipjs library is fantastic. Really easy to work with and well documented!
Using this library, and a similar approach to creating an SVG of text, I was able to create both a barcode and QR Code without much issue.
To do the same, paste in the following bits of code:
// Create a QRCode
async function generateQRCode(text) {
    let qrcodeBuffer = await bwipjs.toBuffer({
        bcid: 'qrcode',
        text,
        scale: 5,
    })

    return qrcodeBuffer
}

// Create a Barcode
async function generateBarcode(text) {
    let svg = bwipjs.toSVG({
        bcid: 'code128', // Barcode type
        text, // Text to encode
        width: 80,
        // includetext: true, // Show human-readable text
        textxalign: 'center', // Always good to set this
        textcolor: 'ff0000', // Red text
        rotate: 'L',
    })
    return Buffer.from(svg)
}
Aside from a few attribute differences, the key points are there: Create a buffer and setup some attributes.
I scaled up the QRCode to 5 because it was a little small by default, but again feel free to play around with that.
For the barcode, I set the bcid to code128 based on the docs, but I don't know enough about barcodes to know if this is optimal or not🤷🏽♂️
Generating an image using the Sharp library
We have functions to create image buffers, but we need to but that data onto our image template. This is where the sharp library comes in.
It's worth noting that the
sharplibrary can do a lot! We're only using a small portion of it, but essentially any manipulation of images can be done with this package.
Let's get started by creating a function to create the ticket for us. Paste in the following code:
async function createTicket(customerName, ticketId, outputPath) {
    const ticketTemplatePath = path.join(
        __dirname,
        './xmas-sample-ticket-hi-res.png'
    )

    const ticket = sharp(ticketTemplatePath)
}
The function above will take in the params needed to generate a dynamic ticket and is aware of wher to save it. Inside the function, we create the full path of the ticket template and pass it to sharp. The ticket variable is now a sharp instance. Any operations or manipulations we perform on the ticket variable will correspond to the ticket template itself.
To demonstrate that, let's create a try/catch block that will call our generate functions. Paste in the following code:
try {
    // Generate  barcode for the ticket as buffer
    const barcodeImageBuffer = await generateBarcode(ticketId)

    // Generate customer name for ticket as buffer
    const customerNameImageBuffer = await generateSVG(customerName)

    const qrcodeImageBuffer = await generateQRCode(ticketId)

}catch (err) {
    console.error('Error creating ticket:', err)
    throw err
}
This simple block will create buffers of our SVG. We'll pass these to our ticket variable (aka sharp). At the moment however, it doesn't know where to put them. To fix that, we'll create overlay objects that will have both the buffer, and the positions where each buffer should be.
To better understand that, paste in the following code inside the try-block:
// Params to overlay QR code onto the template
const qrCodeOverlay = {
  input: qrcodeImageBuffer,
  top: 494, // X position for QR code
  left: 3308,// Y position for QR code
}

const barcodeOverlay = {
  input: barcodeImageBuffer,
  left: 3393,
  top: 351,
}

// Params to overlay SVG onto the template
const svgOverlay = {
  input: customerNameImageBuffer,
  top: 791,
  left: 508,
}
These overlay objects are exactly what sharp is expecting when composing images together.
🧐 "But Focus Otter, where did you get the values for the
topandleftkeys?Great question! I'm sure there's a smarter way, but for the sake of ease, I used Figma and it's ruler capabilities!
To show how this all comes together, the last part of this function is to use the composite function from sharp to take our images and turn them into one.
Paste in the following code underneath the overlay objects:
await ticket
  .composite([
    // barcodeOverlay,
    qrCodeOverlay,
    svgOverlay,
  ])
  .toFile(outputPath)

console.log('Ticket created!')
I commented out the
barcodeOverlaysince you probably don't want both a QR Code and a barcode, but feel free to uncomment!
That's it🎉 You now have a working solution
Testing the solution
To make sure this all works as expected, setup some test data and call the function. For me, I have the following:
// Example usage
const customerName = 'Focus Otter'
const hyphenatedCustomerName = customerName.toLowerCase().replace(' ', '-')
createTicket(
    customerName,
    'some-random-ticket-id',
    `output/event/holiday-walkthrough/${hyphenatedCustomerName}-ticket.png`
)
From there, in my terminal, I can run node index.mjs to create my ticket!
What I love about this project is how it can be taken into so many different directions. From simple automations with a CSV, to a full Micro-SaaS with Stripe and AWS (😉)
If you found this helpful, I'd love for you to let me know in the comments!
Until next time, Happy coding 🦦


