

Getting started: How to install the AWS CLI and configure a CDK TypeScript project

As a frontend developer, you're probably used to working with modern web frameworks like React or Vue, which allow you to build complex applications using familiar programming languages. The AWS Cloud Development Kit (CDK) is similar in that it lets you define your infrastructure using code, but for the cloud instead of the web.
With the CDK, you can use TypeScript to define your cloud infrastructure, including services like Amazon S3, AWS Lambda, and Amazon DynamoDB. By defining your infrastructure in one place, it can be versioned and easily reproduced. This is a huge benefit over clicking through the AWS console.
AWS has a service that already does this: CloudFormation. But it's known for being verbose. The CDK is a wrapper around CloudFormation that also comes with a set of libraries to make it easy to define best practices and security policies for your cloud resources. This means that you can ensure that your infrastructure is secure and follows AWS best practices without having to spend too much time learning about the specifics upfront.
In this post, we'll walk through how to get started with the CDK, starting with creating an AWS user and installing the AWS CLI. In later posts, we'll also deploy services and bring them into our frontend applications.
Prerequisites
Steps
[optional] Creating a New AWS User with Admin Role
First you need to create a new AWS user with the appropriate permissions. Follow these steps to create a new user with the Administrator role and generate an access key and secret access key:
Sign in to the AWS Management Console.
Navigate to the IAM (Identity and Access Management) service.
In the navigation pane, click on Users and then click the Add users button.
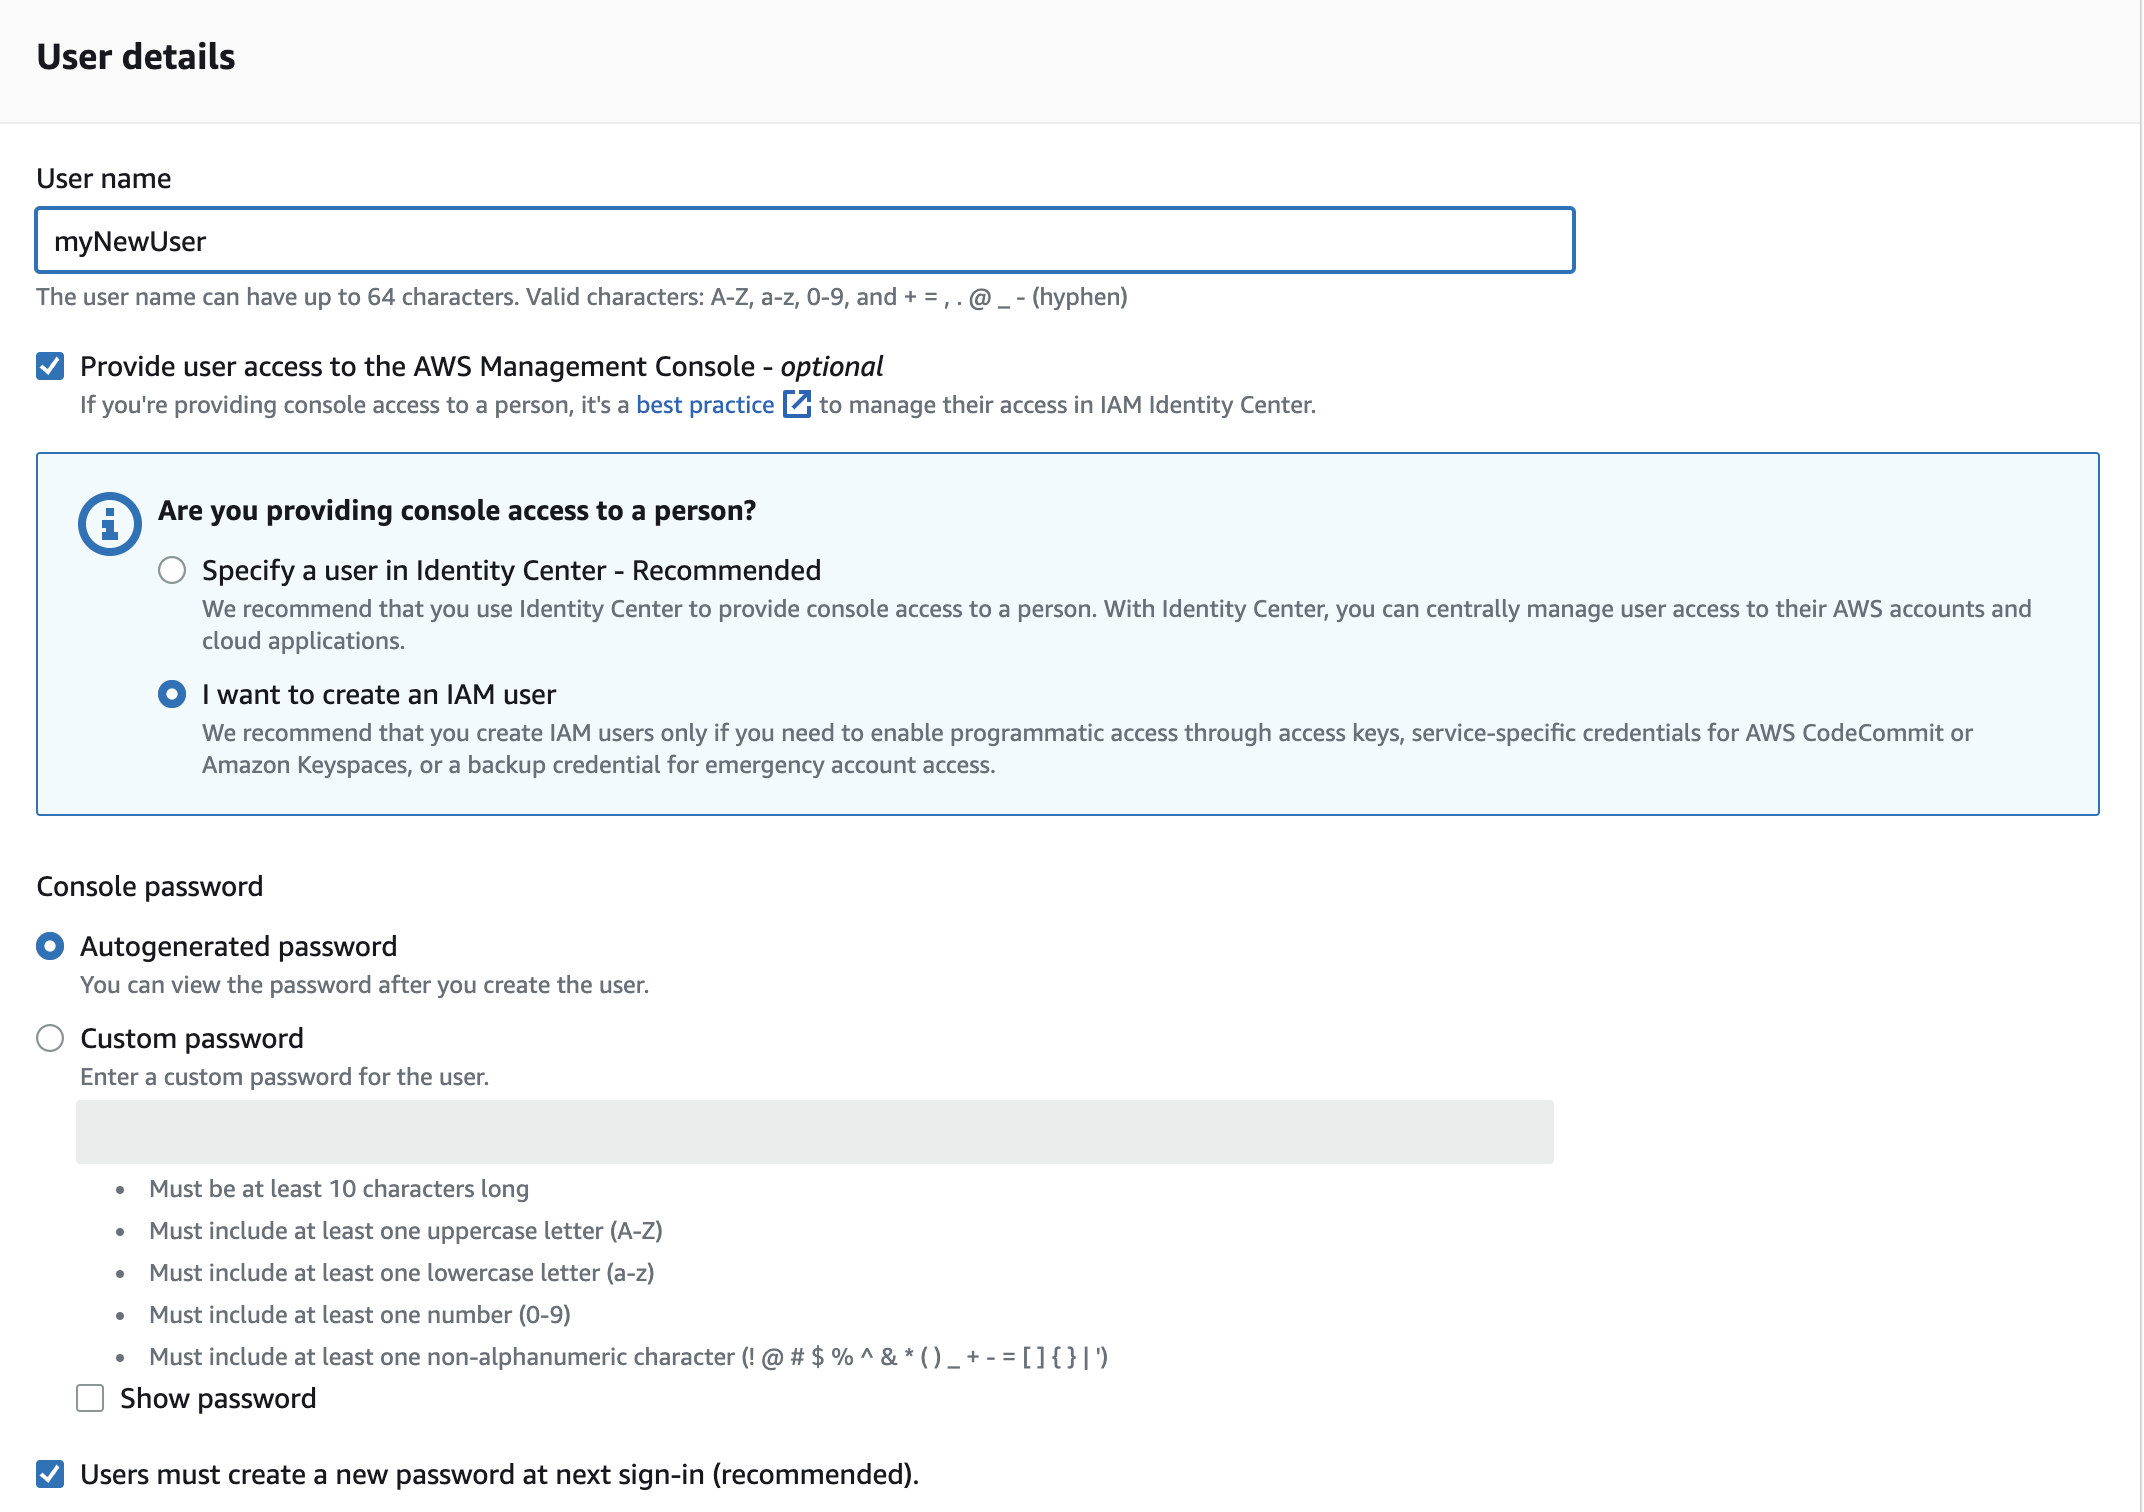
Enter a User name and select the Programmatic access checkbox in the "Select AWS access type" section (adding console access is optional but preferred). Click Next: Permissions.
You can choose to add the user to an existing group, copy permissions from an existing user, or attach policies directly. For this guide, we will add the user to an existing group. Click the Add user to group tab.
Click the Create group button to create a new group with the Administrator role. Enter a name for the group, such as "Admins".
In the search bar, type
AdministratorAccessand select the checkbox next to theAdministratorAccesspolicy. Click Create group.You should now see the newly created "Admins" group. Select the checkbox next to the group and click Next: Tags.
(Optional) Add any tags you want to associate with the user, then click Next: Review.
Review the user details and permissions, then click Create user.
After the user is created, you will see the Access key ID and Secret access key for the new user. Important: This is the only time you will be able to view the secret access key, so be sure to download the .csv file or copy the keys to a safe location.
Now that you have created a new AWS user with the Administrator role and obtained the access key and secret access key, you can proceed to configure the AWS CLI using the aws configure command. Enter the access key and secret access key when prompted.
- Install AWS CLI
Follow the installation instructions from the official AWS documentation.
- Configure a default AWS profile
To configure your AWS CLI, open a terminal and run the following command:
aws configure
You will be prompted to enter your AWS Access Key ID, AWS Secret Access Key, Default region name, and Default output format. Fill in the details and press Enter.
- Install AWS CDK using npx
Instead of installing the AWS CDK globally, we will use npx to run the latest version:
npx aws-cdk@latest
- Bootstrap your environment
Run the following command to bootstrap your environment. This is a one-time-per-region process and essentially authorizes the CDK to deploy resources on your behalf:
npx aws-cdk bootstrap
- Initialize a new CDK project with TypeScript
Create a new directory for your CDK project and navigate to it:
mkdir my-cdk-project
cd my-cdk-project
Note: Initializing a new CDK project should be done in an empty directory.
Now, initialize the new CDK project with TypeScript:
npx aws-cdk init --language typescript
Running CDK commands
Whenever you need to run CDK commands, use npx aws-cdk:
npx aws-cdk <command>
For example, to list your CDK stacks:
npx aws-cdk list
To synthesize your CDK app:
npx aws-cdk synth
Now you have successfully installed AWS CDK version 2 with NPM, configured the AWS CLI, and initialized a new CDK project with TypeScript.
If wanting to destroy your CDK app:
npx aws-cdk destroy
Conclusion
That's it! You have successfully installed AWS CDK version 2 with NPM and configured it for use with the AWS CLI.
In the next post, we'll create our first AWS services
Happy coding🦦


