

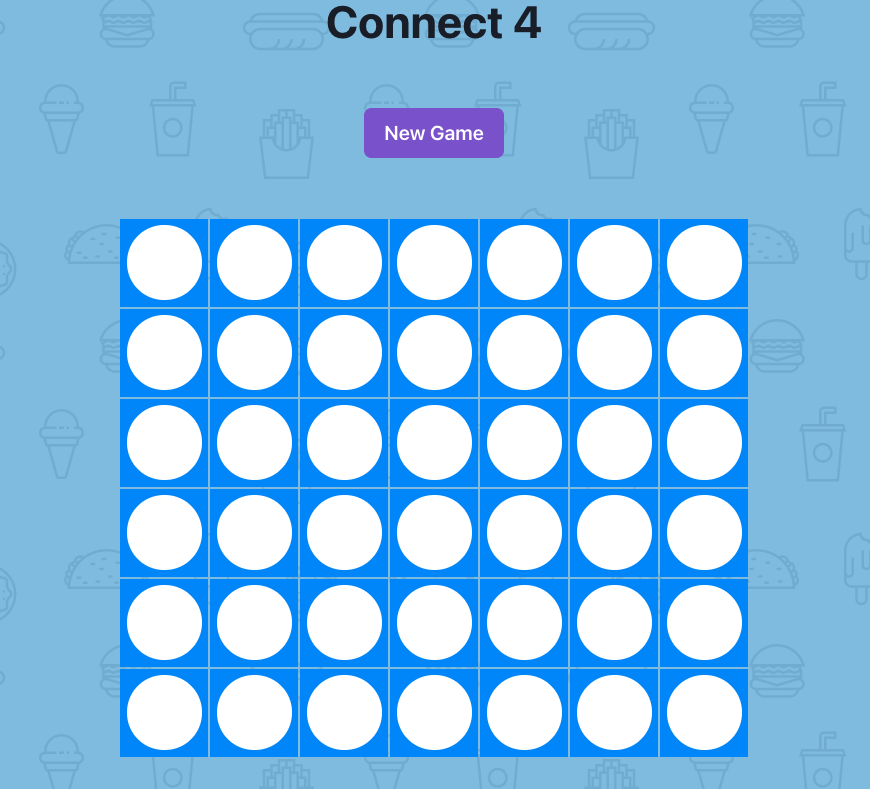
Building Connect4: Adding Logic

In the second part of this series, we’ll add in the logic that allows two users to play the game locally.
If you’d like to see how we got the project scaffolded and styled, definitely checkout the first part to get a better understanding.
Also, if you'd like to play the final version of what we're building today, click here to do just that!
Developing our mental model
Before we start writing some code, it’s important to get a mental model of how our game data is moving across our files.
Here are some important concepts to keep in mind before a player makes their move:
1) Our game board is an array made up six inner arrays. Each array represents a row on our Connect4 board.
board: [
    [null, null, null, null, null, null, null],
    [null, null, null, null, null, null, null],
    [null, null, null, null, null, null, null],
    [null, null, null, null, null, null, null],
    [null, null, null, null, null, null, null],
    [null, null, null, null, null, null, null],
  ]
2) Inside each of those arrays are 7 null values by default. These represent the areas players can place their tokens. We use the indexes of the null values (from 0-6) to specify a column.
// Connect4.js
// iterate over each array to create a Row

<tbody>
  {gameState.board.map((row, i) => (
     <Row key={i} row={row} play={play} />
   ))}
</tbody>
//Row.js
// row ex) [null, null, null, null, null, null, null, null]
// iterate over each column, cell= the value, i = column index
<tr>
 {row.map((cell, i) => (
   <Cell key={i} value={cell} columnIndex={i} play={play} />
 ))}
</tr>
3) Each token area (Cell) has an event listener attached to it. So when a cell is clicked, we know both its column, and the value inside of it. We can then call the play function we passed from Connect4 -> Row -> Cell.
//Row.js (inside Cell component)
onClick={() => {
  play(columnIndex)
}}
🤔 You might be wondering how we know what row a user clicked in if all a
Cellknows is the column and its value (what if someone clicks the very top row when the game just started?) We'll see the logic later on, but because we're working in a grid, we'll just use a for-loop to check the bottom row and work our way up until we find the first available cell in that column.
Adding our logic
The play function that is defined in Connect4.js is going to be our star player in this project. It will be automatically called when a player clicks any cell and is only told what column to place a token in.
So let's start there.
Creating a fresh board
Inside the play function, add the following line:
let board = deepCloneBoard(gameState.board)
As a refresher, when passing JavaScript primitive types around, we pass the actual value:
let a = 2
let b = a
a = 3
console.log(b) // 2
but when passing complex types like objects and arrays, we pass a reference to the original type:
let arr1 = ['hi']
let arr2 = arr1
arr1.push('bye')
console.log(arr2) // ['hi', 'bye']
Sometimes, that behavior is what we want...most times it's not. So to copy the values over, without worrying about pass by value vs pass by reference, we'll crate a utility function that takes in our board and safely returns a copy.
Create a new file called gameUtils.js and add the following code:
//connect4/gameUtils.js
export const deepCloneBoard = (board) => [
  [...board[0]],
  [...board[1]],
  [...board[2]],
  [...board[3]],
  [...board[4]],
  [...board[5]],
]
Here we're immediately returning an array and in row inner array, we are using the spread-operator to copy the values of the board at a given index.
With this function exported, don't forget to import it in Connect4.js by adding the following line:
import { deepCloneBoard } from '../gameUtils'
Adding a player to a board
Back in our Connect4.js file, we'll handle a user being able to place their token in a given column. I explained above how this works conceptually, so after we deep clone our board, add the following code:
//check if cell is taken by starting at the bottom row (5) and working up
//if a cell is null, add the current player (1 or 2) to it.
for (let r = 5; r >= 0; r--) {
  if (!board[r][c]) {
    board[r][c] = gameState.currentPlayer
    break
   }
}
🗒️ At this point, you should be able to run the app and click on a cell to place a red token from the bottom up...but it won't. That's because we are never updating our state to reflect the added player.
As a next step, we'll work between our gameReducer function and our play function so that our application updates when a player places a token.
Working with game state
In our Connect4.js file, at the top of our Connect4 component, there is this line:
const [gameState, dispatchGameState] = useReducer(
 gameReducer,
 initialGameState
)
The useReducer function is a react hook that takes in two arguments: a function that contains the ways our state can update, and a value (initalGameState) that defines what the state looks like by default.
In return, we are given back an array with two fields: What our state looks like currently (gameState) and a function to update our state (dispatchGameState).
Let's fill out our reducer to account for the various ways a game can be updated:
const gameReducer = (state, action) => {
//1
  switch (action.type) {
//2
    case 'newGame':
      return {
        ...initialGameState,
        board: action.board,
      }
//3
    case 'togglePlayer':
      return {
        ...state,
        currentPlayer: action.nextPlayer,
        board: action.board,
      }
//4
    case 'endGame':
      return {
        ...state,
        gameOver: true,
        message: action.message,
        board: action.board,
      }
//5
    case 'updateMessage':
      return {
        ...state,
        message: action.message,
      }
//6
    default:
      throw Error(`Action "${action.type}" is not a valid action.`)
  }
}
A reducer is a concept where one function can take in many different values, and depending on what that value is, will return a single new piece of data.
A bit more concretely:
- Our game reducer will take in an action (which is an object) and we'll use its
typevalue to determine what to do. - New Game: return a new game, as defined by the initial state.
- Toggle Player: return whatever values are currently in our game's state, updating the board, and the current player to the new values passed in.
- End Game: return whatever values are in state, set
gameOverto true, update the message, and update the board. - Update Message: A handy way to keep everything the same except for the message.
- If the
typevalue is something we didn't account for, throw an error.
The nice thing about react is that every time we update our component's state, the component will automatically re-render itself and any children components.
As such, the most-current version of our state will always be in the gameState variable. Let's bring this full circle by using the dispatchGameState.
Updating our state
Just like our gameReducer contains all the ways our state can update, our play function will be in charge of doing the actual updating.
We'll start by allowing players to place their tokens, alternating turns. To do so, update your play function with the following code, just after our for-loop:
const nextPlayer =
  gameState.currentPlayer === gameState.player1
    ? gameState.player2
    : gameState.player1

dispatchGameState({ type: 'togglePlayer', nextPlayer, board })
We start using a ternary operator to see who the next player is. Then we update our game by calling dispatchGameState, passing in the updated player, the updated board, and most importantly, the type.
🗒️ Recall that the our
gameReducerlooks at thetypevalue to determine how our state should update.
Save and run the game. You should now be able to place alternating tokens 🎉
Wrapping up the game
Our game is near complete, though we should probably add in the ability to check for a win, display a message to the players, and restart the game!
Fortunately for us, the most of the work is done, we'll just want to add in the relevant state updates.
The logic to update the game update the game is so similar to what we've already accomplished that I'll just link out to the repo so that you can view what the final screen looks like. To access it, just click here
You'll notice that the logic to update the game has been abstracted away in a checkForWin function.
That function just does a few optimized for-loops and I chose not to copy/paste it here to focus on understanding the concepts.
This function is also in the repo I linked to above, feel free to open up your gameUtils.js file and paste in all the code from this link. Just be sure to import both the checkForWin function and the generateNewBoard function into the Connect4.js file.
The last thing to do is to have the ability to start a new game😎
For this, we'll want to use the generateNewBoard function from our gameUtils file. Update your "New Game" button to look like this:
<Button
 colorScheme="purple"
 className={gameStyles.button}
 onClick={() => {
  dispatchGameState({ type: 'newGame', board: generateNewBoard()})
 }}
>
 New Game
</Button>
Make sure all your files are saved and you should have a working Connect4 game🎉
Conclusion
As you can see, creating a turn-based game in React is actually more about JavaScript concepts and how data flows in a React project.
I hope you had as much fun building this out as I did and if you have any suggested enhancements or updates you'd like to see definitely let me know!


