

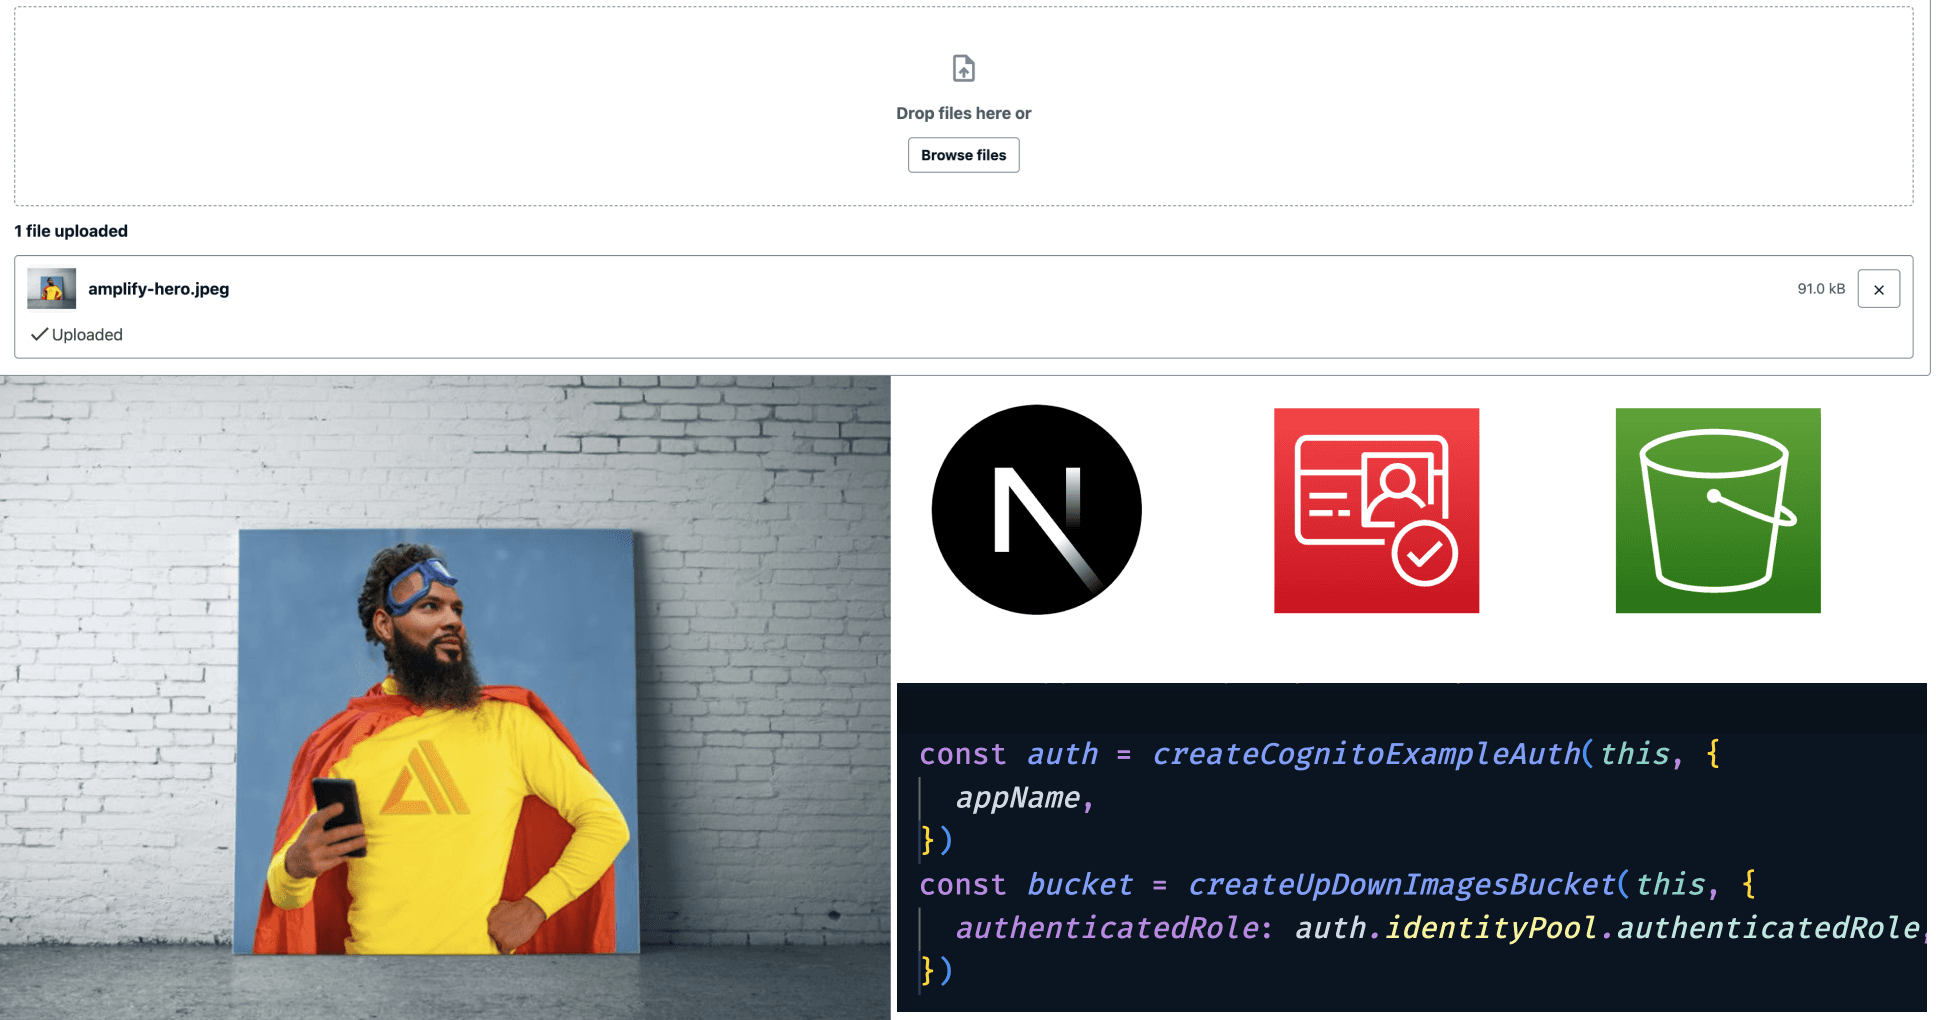
Fullstack Image Upload and Download with NextJS and AWS CDK
Amazon Simple Storage Solution (Amazon S3) is one of the oldest AWS services. It's also the one that I was most afraid of when first learning AWS. Turns out, it was never S3 that scared me, but AWS's permission service IAM.
In this post, I'll show you how to securely combine a NextJS frontend with an AWS CDK backend. By the end of this post, I hope you see that the parts that I found scary, are nothing more than simple access patterns.
This post now has a YouTube video with it that shows a full project walkthrough!
Project Setup
Like a medium-rare steak and a good cabernet, this post is best paired with a GitHub repo 👇🏽
The repo has all the setup code, and deployment instructions. So instead of repeating that information, I'll instead elaborate on the following sections:
Authentication with Amazon Cognito
Creating an S3 Bucket with IAM permissions
Authentication with Amazon Cognito
Amazon Cognito is a 3-headed service from AWS. It's made up of the following parts:
Userpools: As the name suggests, when a user signs up this is where they go
Userpool Client: Sometimes you need to provide callback or logout redirect details for social authentication. That's what a client is for.
Identity Pool: If a userpool is where our users go, an identity pool manages what they can do. This distinction is important.
In the _backend/lib/auth/cognito.ts file from the repo, I setup these 3 pieces of Cognito. What I love about this file is that's 100% boilerplate. Sure I can tweak whether or not a user's email address is their username or if they need to provide a phone number, but typically, I just borrow this file from project to project.
\>🗒️ This project doesn't make use of the Userpool Client, again, I just keep it around to make my life easier if I need it.
The identity pool is the star of the show:
const identityPool = new IdentityPool(
  scope,
  `${props.appName}-identitypool`,
  {
    identityPoolName: `${props.appName}-identitypool`,
    allowUnauthenticatedIdentities: true,
    authenticationProviders: {
      userPools: [
        new UserPoolAuthenticationProvider({
          userPool: userPool,
          userPoolClient: userPoolClient,
        }),
      ],
    },
  }
)
Primarily because with it, we get access to an authenticatedRole and unAuthenticatedRole.
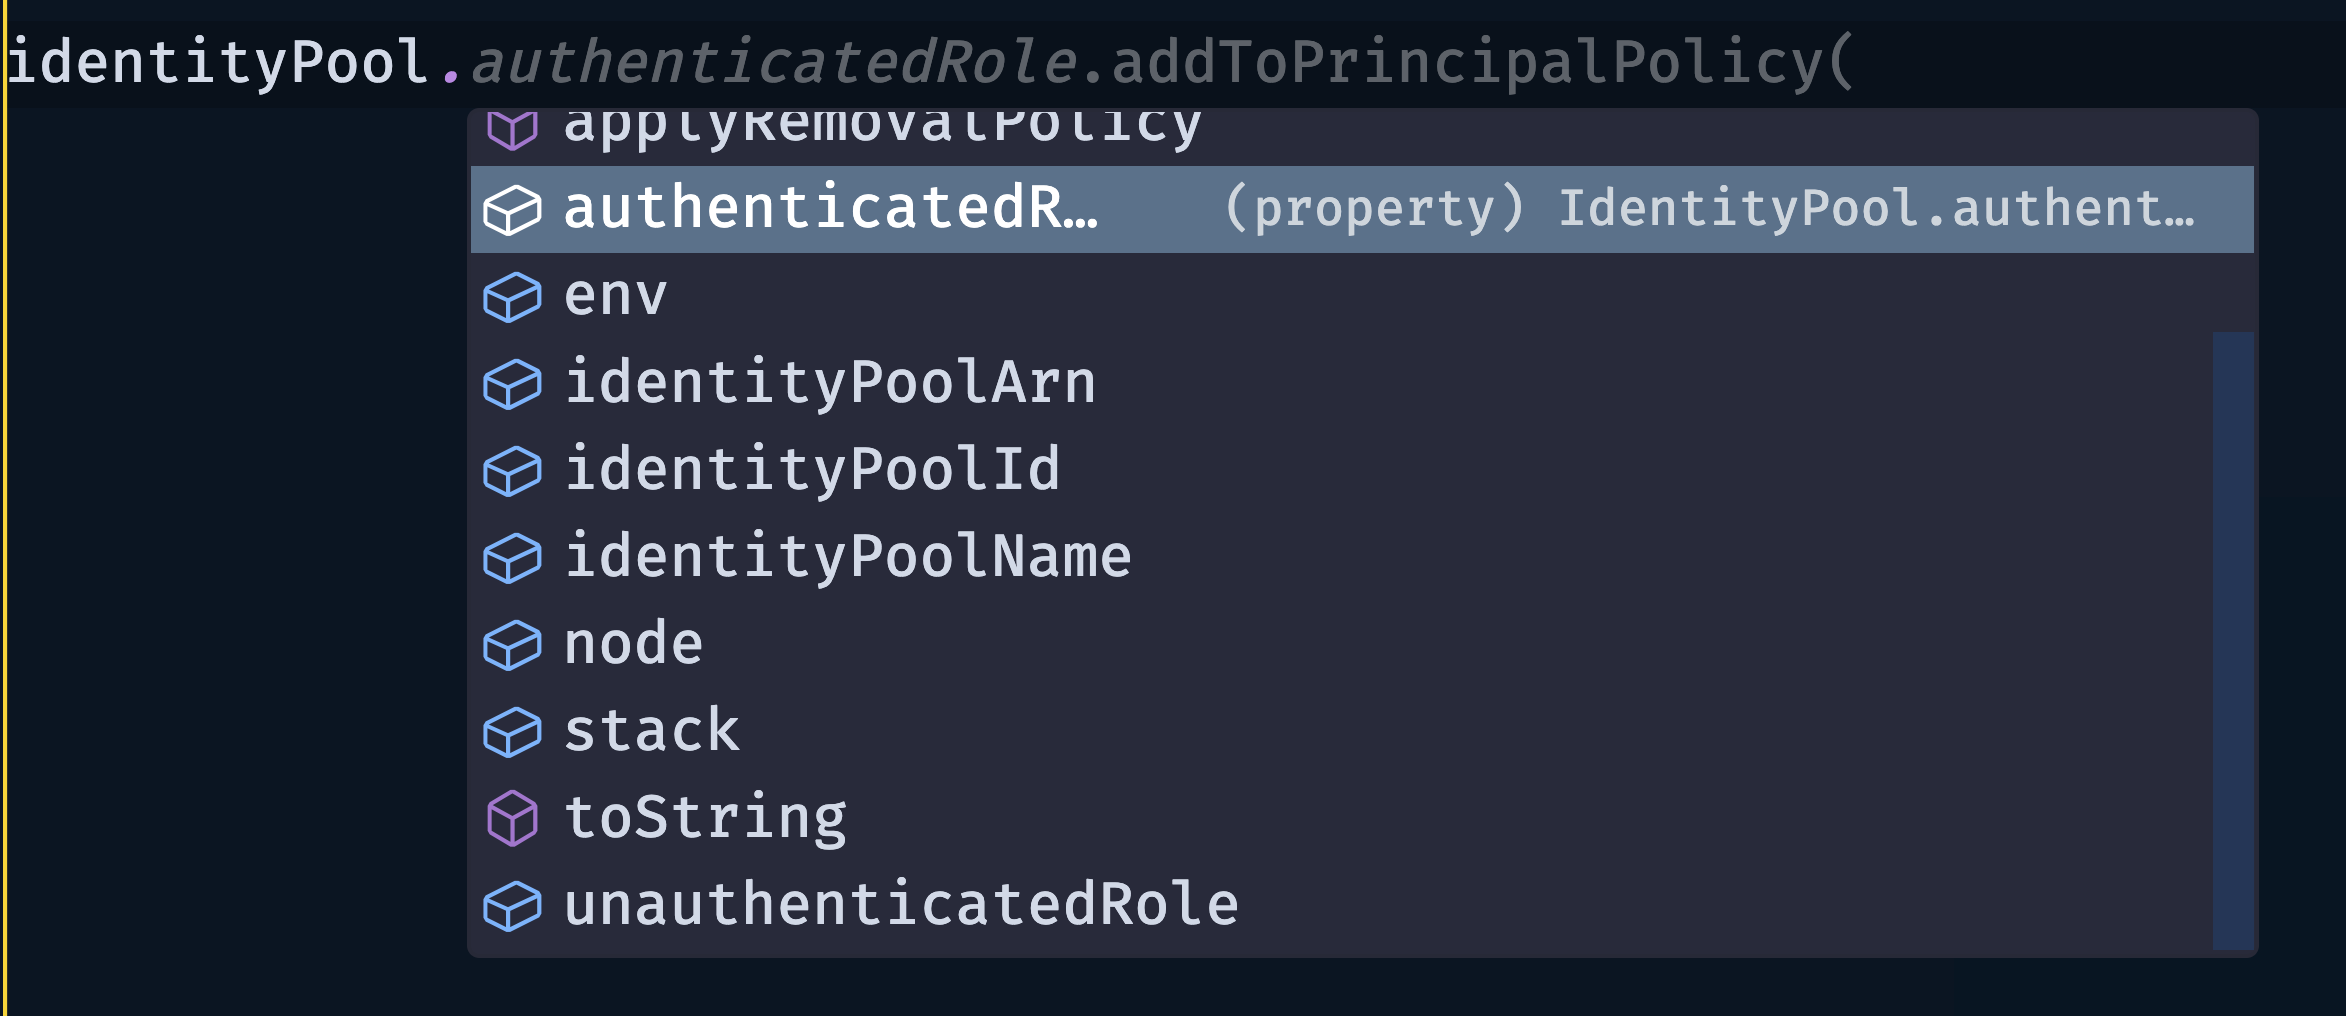
We can assign permissions to these roles so that when a user comes to our site, they can assume one of these roles.
One the frontend, we make use of Cognito with the following line:
export default withAuthenticator(Home, { signUpAttributes: ['email'] })
The two sides of Amazon S3: Creation and Permission
An S3 bucket is a where we can put a bunch of files. Creating an S3 bucket is one of the easiest things to do with the AWS CDK:
const fileStorageBucket = new s3.Bucket(scope, `updownBucket`)
This is all that's needed to create it. From here, we now have to manage the permissions for it.
Fortunately, it's also a fairly boilerplate process.
As you can see in the lib/storage/uploadDownloadBucket.ts file, if you want to enable CORS, the bucket then becomes the following:
const fileStorageBucket = new s3.Bucket(scope, `updownBucket`, {
    cors: [
        {
            allowedMethods: [
                s3.HttpMethods.POST,
                s3.HttpMethods.PUT,
                s3.HttpMethods.GET,
                s3.HttpMethods.DELETE,
                s3.HttpMethods.HEAD,
            ],
            allowedOrigins: ['*'],
            allowedHeaders: ['*'],
            exposedHeaders: [
                'x-amz-server-side-encryption',
                'x-amz-request-id',
                'x-amz-id-2',
                'ETag',
            ],
        },
    ],
})
🗒️ The
exposedHeadersarray is good hygiene as it makes it easier to debug S3 specific errors. Copy Pasta 🍝
From that, we have an S3 bucket is can be called from the frontend. However, this still doesn't answer the question of who has the permission to call it from the frontend.
Amazon S3 bucket permissions are governed by policies. These policies are then given to a role that someone or some other service can assume.
Let's breakdown what that means:
// Let signed in users Upload on their own objects in a protected directory
const canUpdateAndReadFromOwnProtectedDirectory = new iam.PolicyStatement({
    effect: iam.Effect.ALLOW,
    actions: ['s3:PutObject', 's3:GetObject'],
    resources: [
        `arn:aws:s3:::${fileStorageBucket.bucketName}/protected/\${cognito-identity.amazonaws.com:sub}/*`,
    ],
})
This policy allows the ability to PUT and object in S3 and GET an object from s3. Which S3 bucket? Which part of the S3 bucket? Well, that's where the resource comes in play.
This policy verify specifically allows access to any file (*) in the /protected/{cognito-identityId} of the bucket we created.
Now this is just a policy. Someone/some service has to have it (aka assume it). For that, we tie a role and a policy together:
new iam.ManagedPolicy(scope, 'SignedInUserManagedPolicy-test', {
        description:
            'managed Policy to allow upload access to s3 bucket by signed in users.',
        statements: [canUpdateAndReadFromOwnProtectedDirectory],
        roles: [props.authenticatedRole],
    })
On the frontend, we make use of our S3 bucket with the following two components:
Uploading
<StorageManager
  acceptedFileTypes={['image/*']}
  accessLevel="protected"
  maxFileCount={1}
  onUploadSuccess={({ key }) => {
    setFilename(key as string)
  }}
/>
Downloading
<StorageImage
  alt={fileName}
  imgKey={fileName}
  accessLevel="protected"
/>
🗒️ For both of those UI components, notice how I'm passing in the
protectedstring. This will not only store the file name in my bucket, but under theprotected/{cognito-identityId}path as well!
Conclusion
It's worth noting that what I did in this project can be done even easier with the Amplify CLI, however by managing my own resources with the CDK, I can have full control over the policy process and even add on additional configurations that may not be offered by the Amplify CLI such as cacheing my images with a CDN:
Trading convenience for control is a line that takes practice to get right, but as your applications before more complex the right decision becomes more apparent.
Let me know in the comments if this helped you understand AWS permissions, or if there's anything specific you'd like to see!
Happy coding 🦦


