

The Complete Guide to Adding AWS Resources to Your Amplify Project

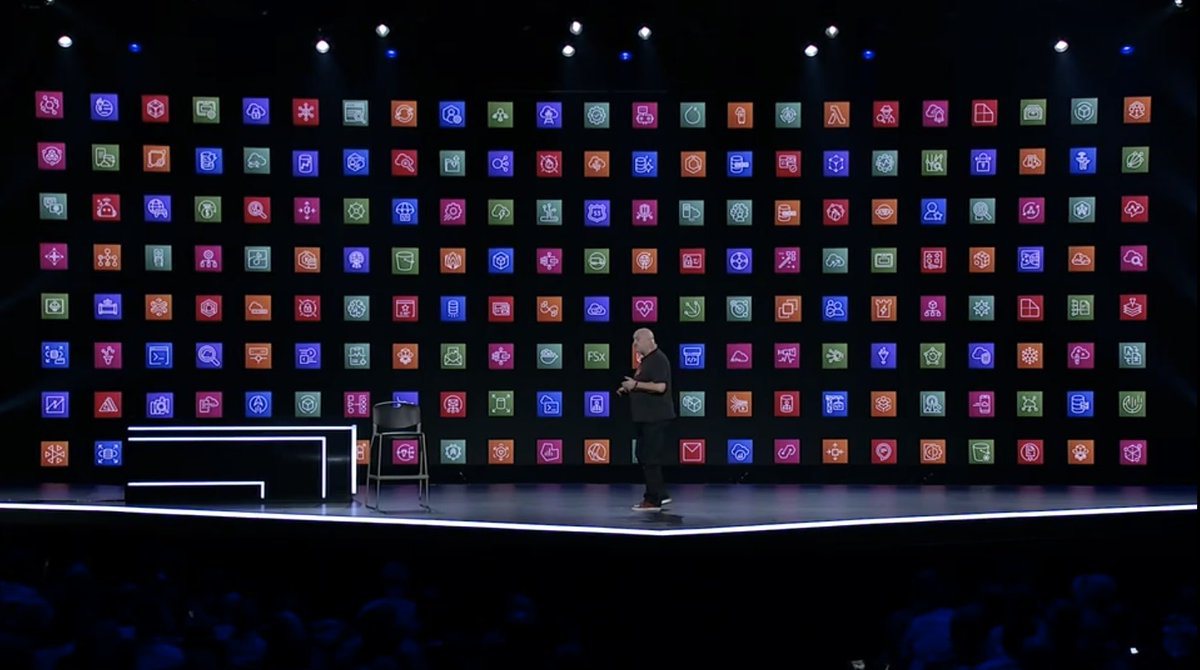
During Dr. Werner Vogel's re:Invent keynote, the point was made that AWS has a ton of services--each one designed to solve a customer pain point.
AWS Amplify composes some of those services together to create a framework designed for today's professional frontend developer. These services can be added with a CLI command. For example, to add a GraphQL API or REST API, one would type.
amplify add api
We at Amplify integrate core services needed to build production apps, but the reality is that today's applications need a wide variety of services. One initial solution, was to put all 175+ services in the CLI 😅
I'm happy to say we have a better way:
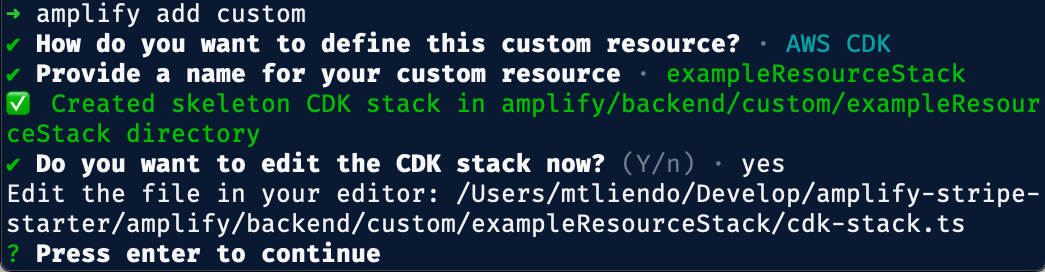
amplify add custom
This command will scaffold out files using AWS Cloud Development Kit (CDK) or AWS CloudFormation. You can then use this stack to add whatever services you like. In this post, we'll walk through what that experience is like so you can feel comfortable adding any AWS resource to your next project, not just the ones offered directly through the CLI .
Adding a custom resource
As mentioned, both CDK and CloudFormation are supported, but my opinion is that most frontend developers will enjoy writing TypeScript to generate their infrastructure, so that's what we'll be using in this post.
After running amplify add custom and following the prompts, Amplify will generate our CDK stack.
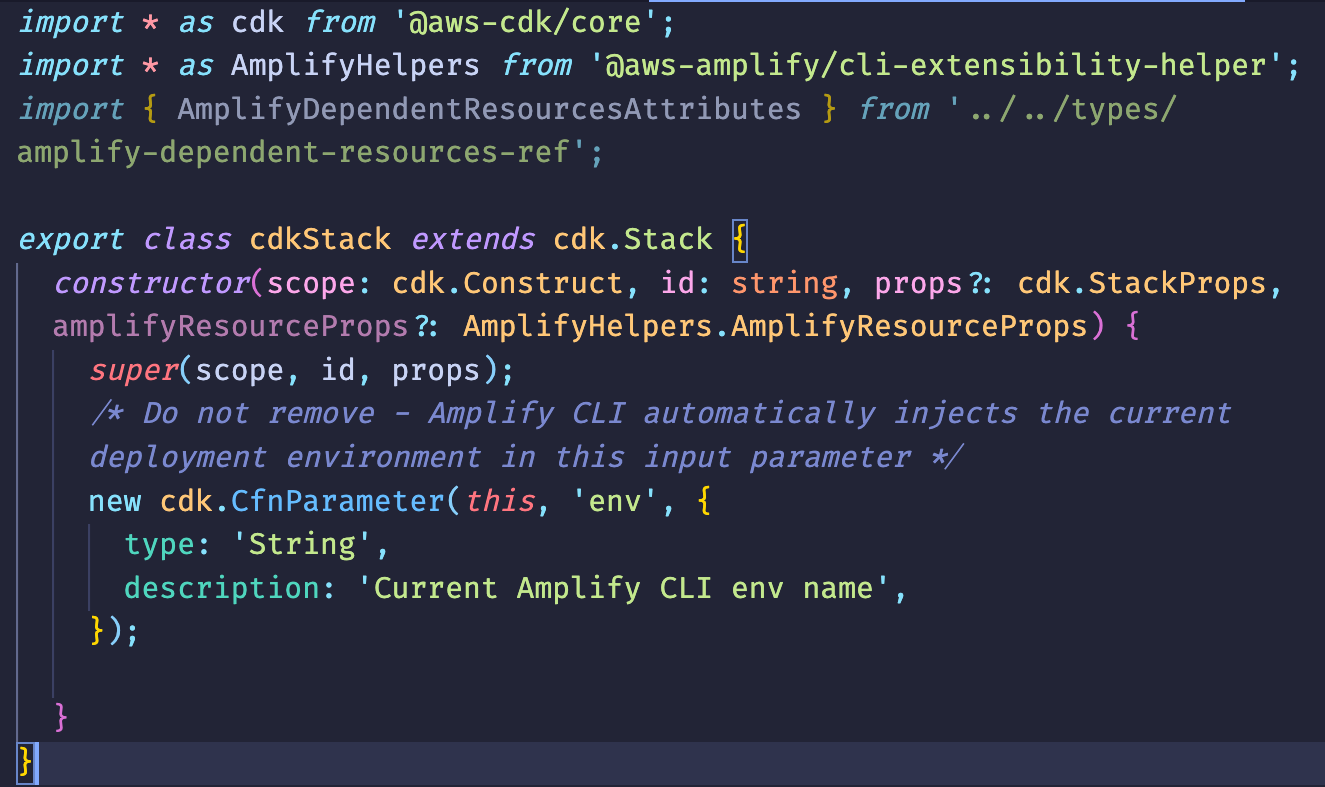
If you've worked in CDK with TypeScript before, you should feel right at home since the generated files are very similar to what you would get when running
cdk init --template sample-app --language typescript
The key differences is that we include a few more examples for folks to get started, and a few Amplify helpers to easily connect Amplify with your CDK backend.
After deleting the commented examples for now, the following screenshot is what is left:
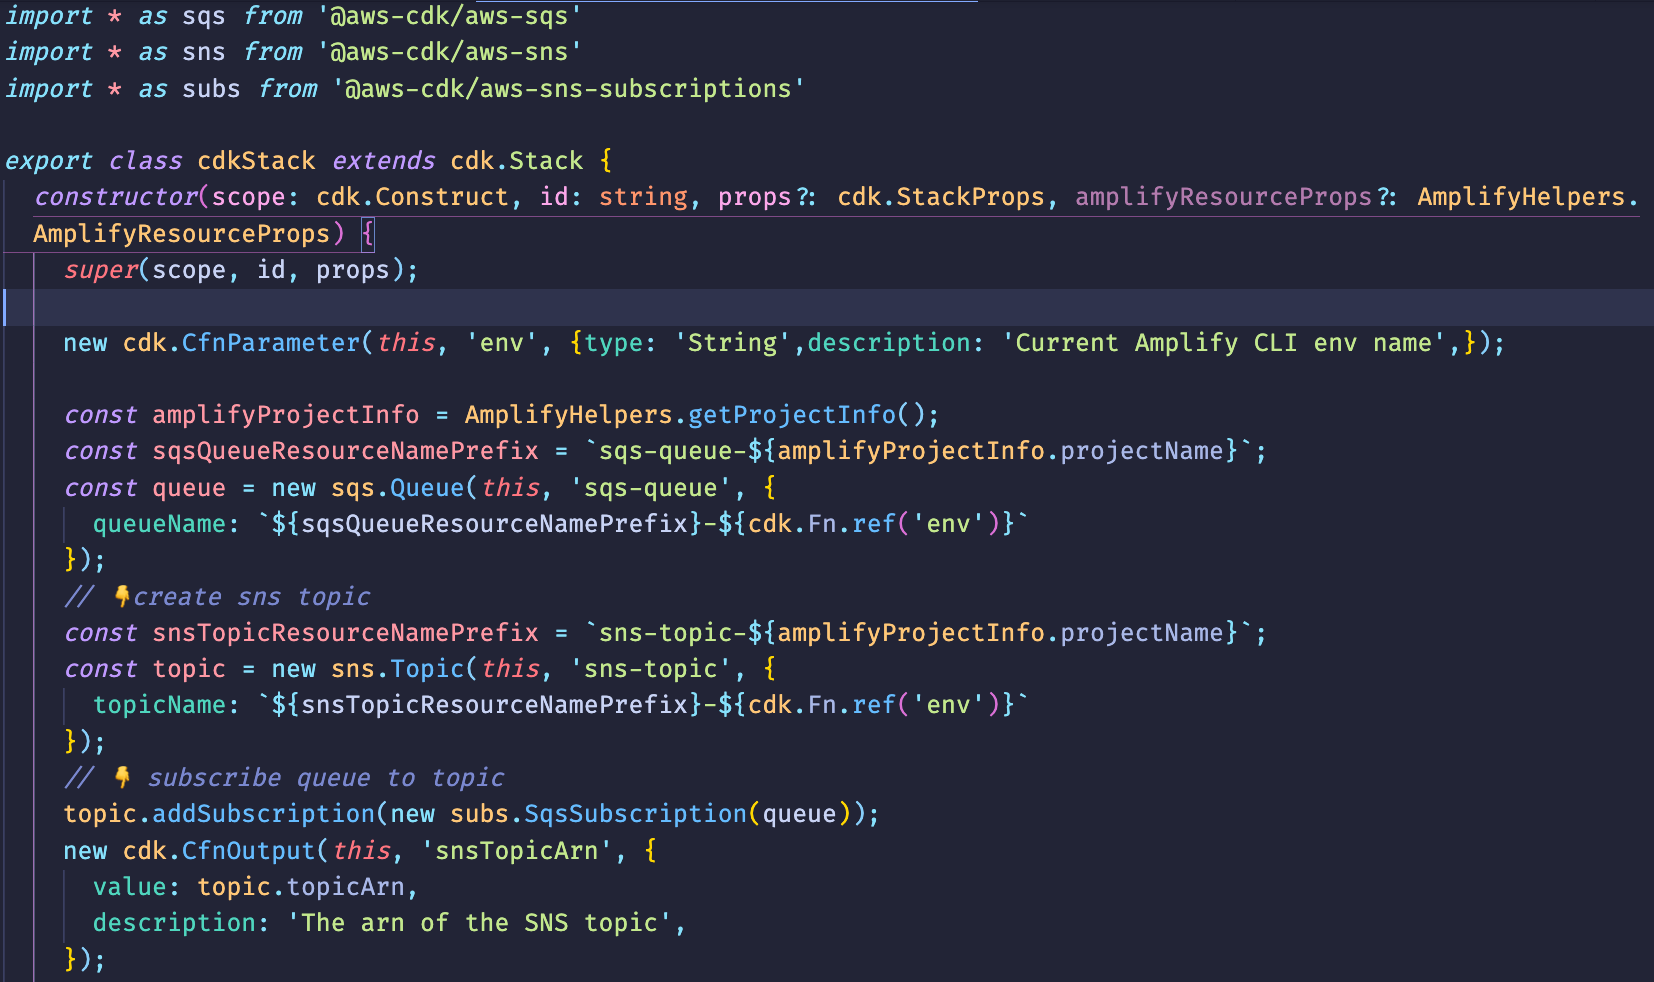
Adding an SNS Topic and SQS
Let's say you wanted to send a text message to a group of interested individuals. To avoid bottling up the downstream service, we'll also add an SQS Queue so messages can be picked up in batches.
This scenario is exactly what we provide out of the box as one of our commented out examples!
Keep in mind that any resource that you see in the CDK docs is fair game to be added.
Understanding Amplify helpers
Now that we understand how resources can be added, let's look at some of the extra benefits Amplify provides.
AmplifyHelpers: We automatically install a package called @aws-amplify/cli-extensibility-helper.
This currently contains two methods: getProjectInfo and addResourceDependency. We'll chat about adding resources dependencies in a bit, but let's first explore the available project info.
Calling this method currently provides two properties: envName and projectName.

The envName corresponds to the current Amplify environment. By default, this is dev, though by running amplify env add <envName> users can add branches to their backends , much like when working in git.
🚨Due to the lifecycle of when the environment name gets populated, the
envNamehere is to be used for conditional checks only, not for naming resources:
if(AmplifyHelpers.getProjectInfo().envName === 'prod') {
  // create an IAM role to allow access to a prod account
}
Additionally, the projectName is the name specified in the CLI when first running amplify add custom (see the first screenshot). As we saw when we created our resources, this is great for project organization:
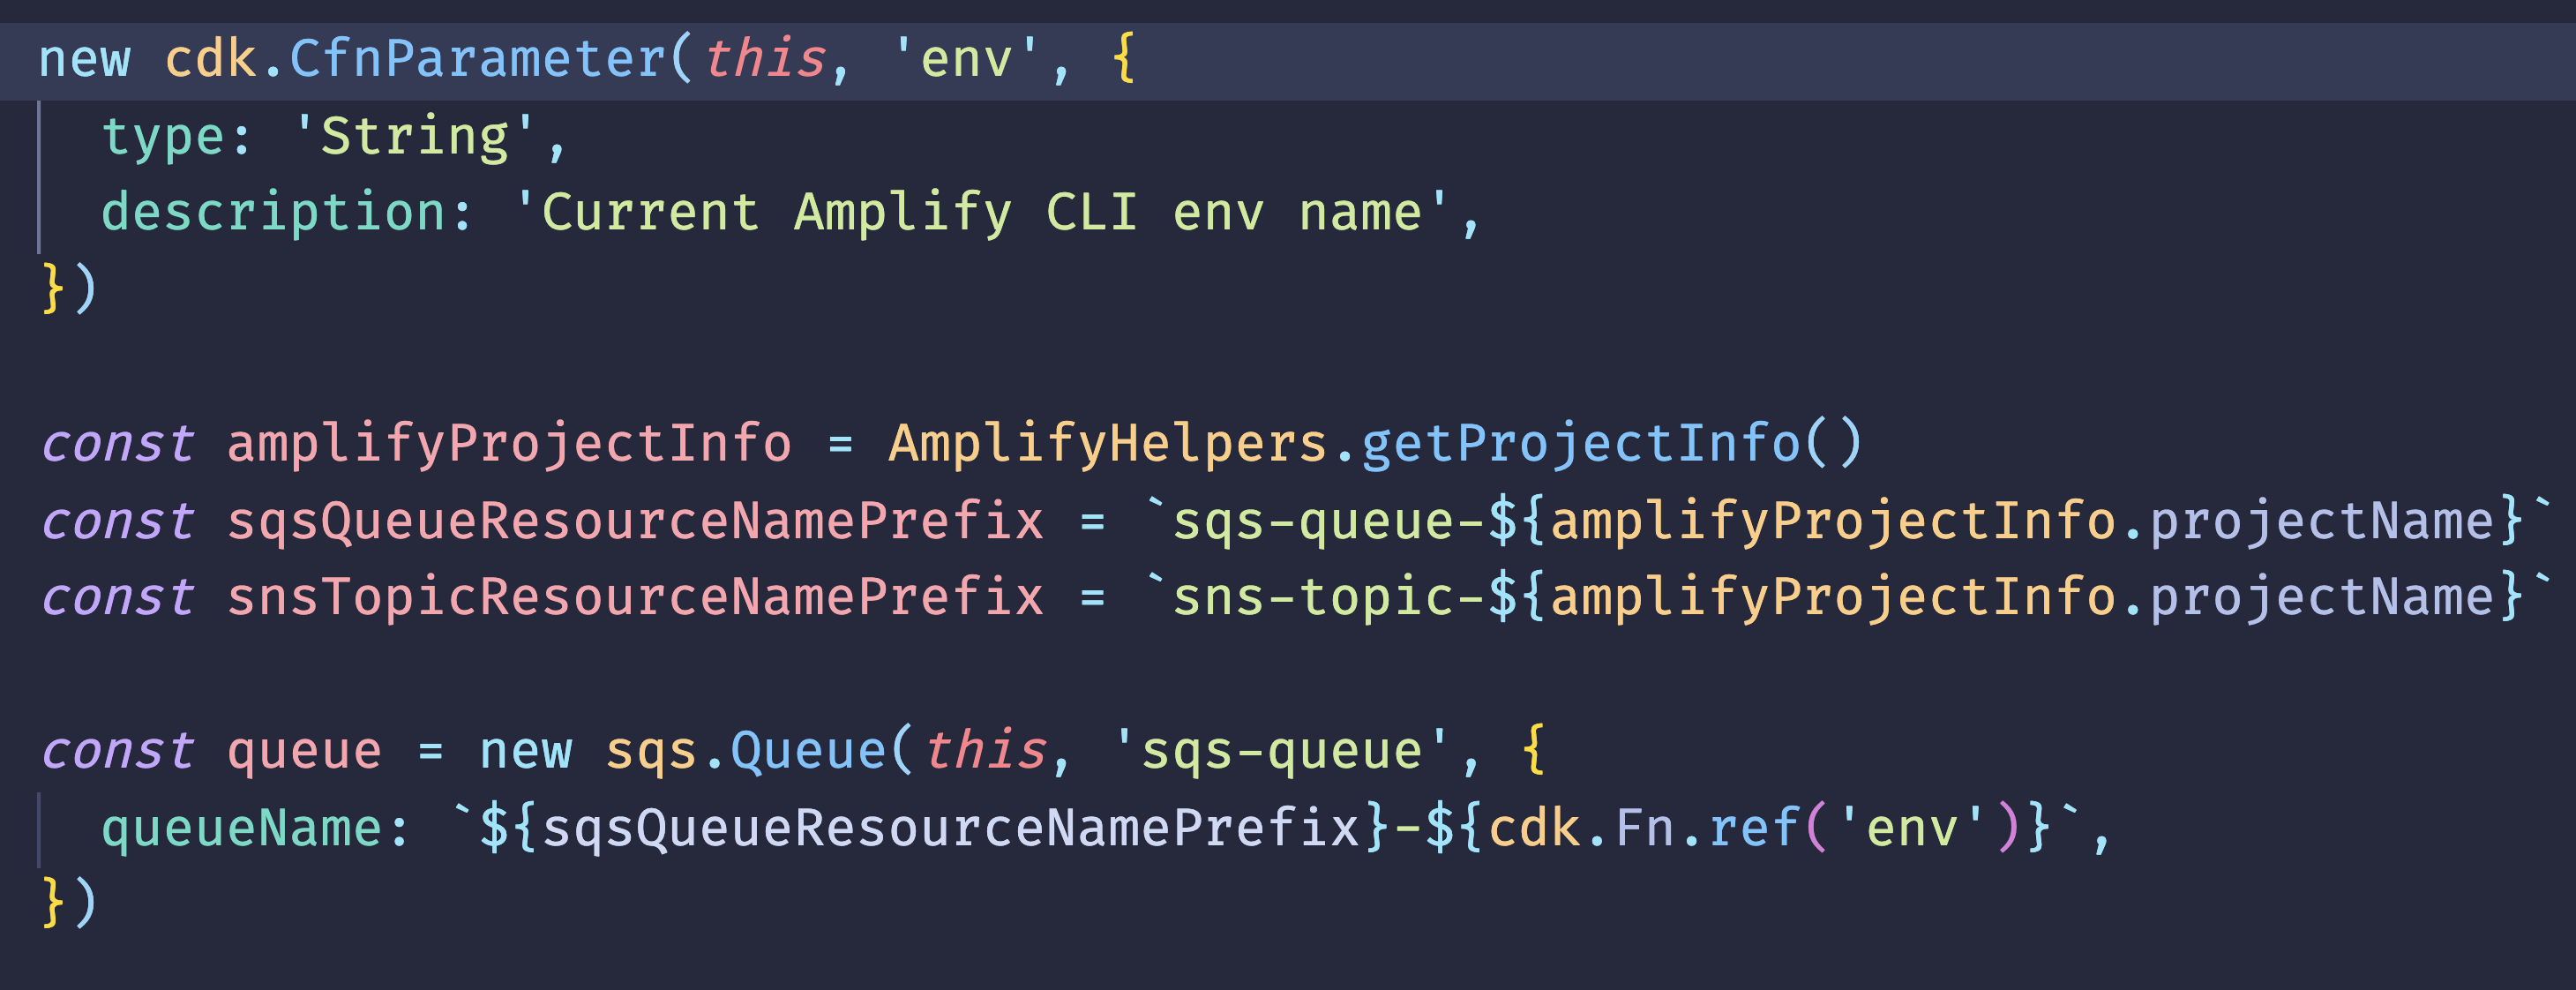
🗒️Note that the above screenshot also shows the correct way to pull in the Amplify environment when naming resources.
Working with Amplify generated resources
In addition to AmplifyHelpers.getProjectInfo(), let's look at AmplifyHelpers.addResourceDependency().
This method will bring in resources that we generated with the Amplify CLI.
🗒️ It's worth noting that when running
amplify add custom, example 3 of the commented boilerplate code provides this function by default.
Because we're in TypeScript, our retVal variable is already typed to reference our Amplify resources:
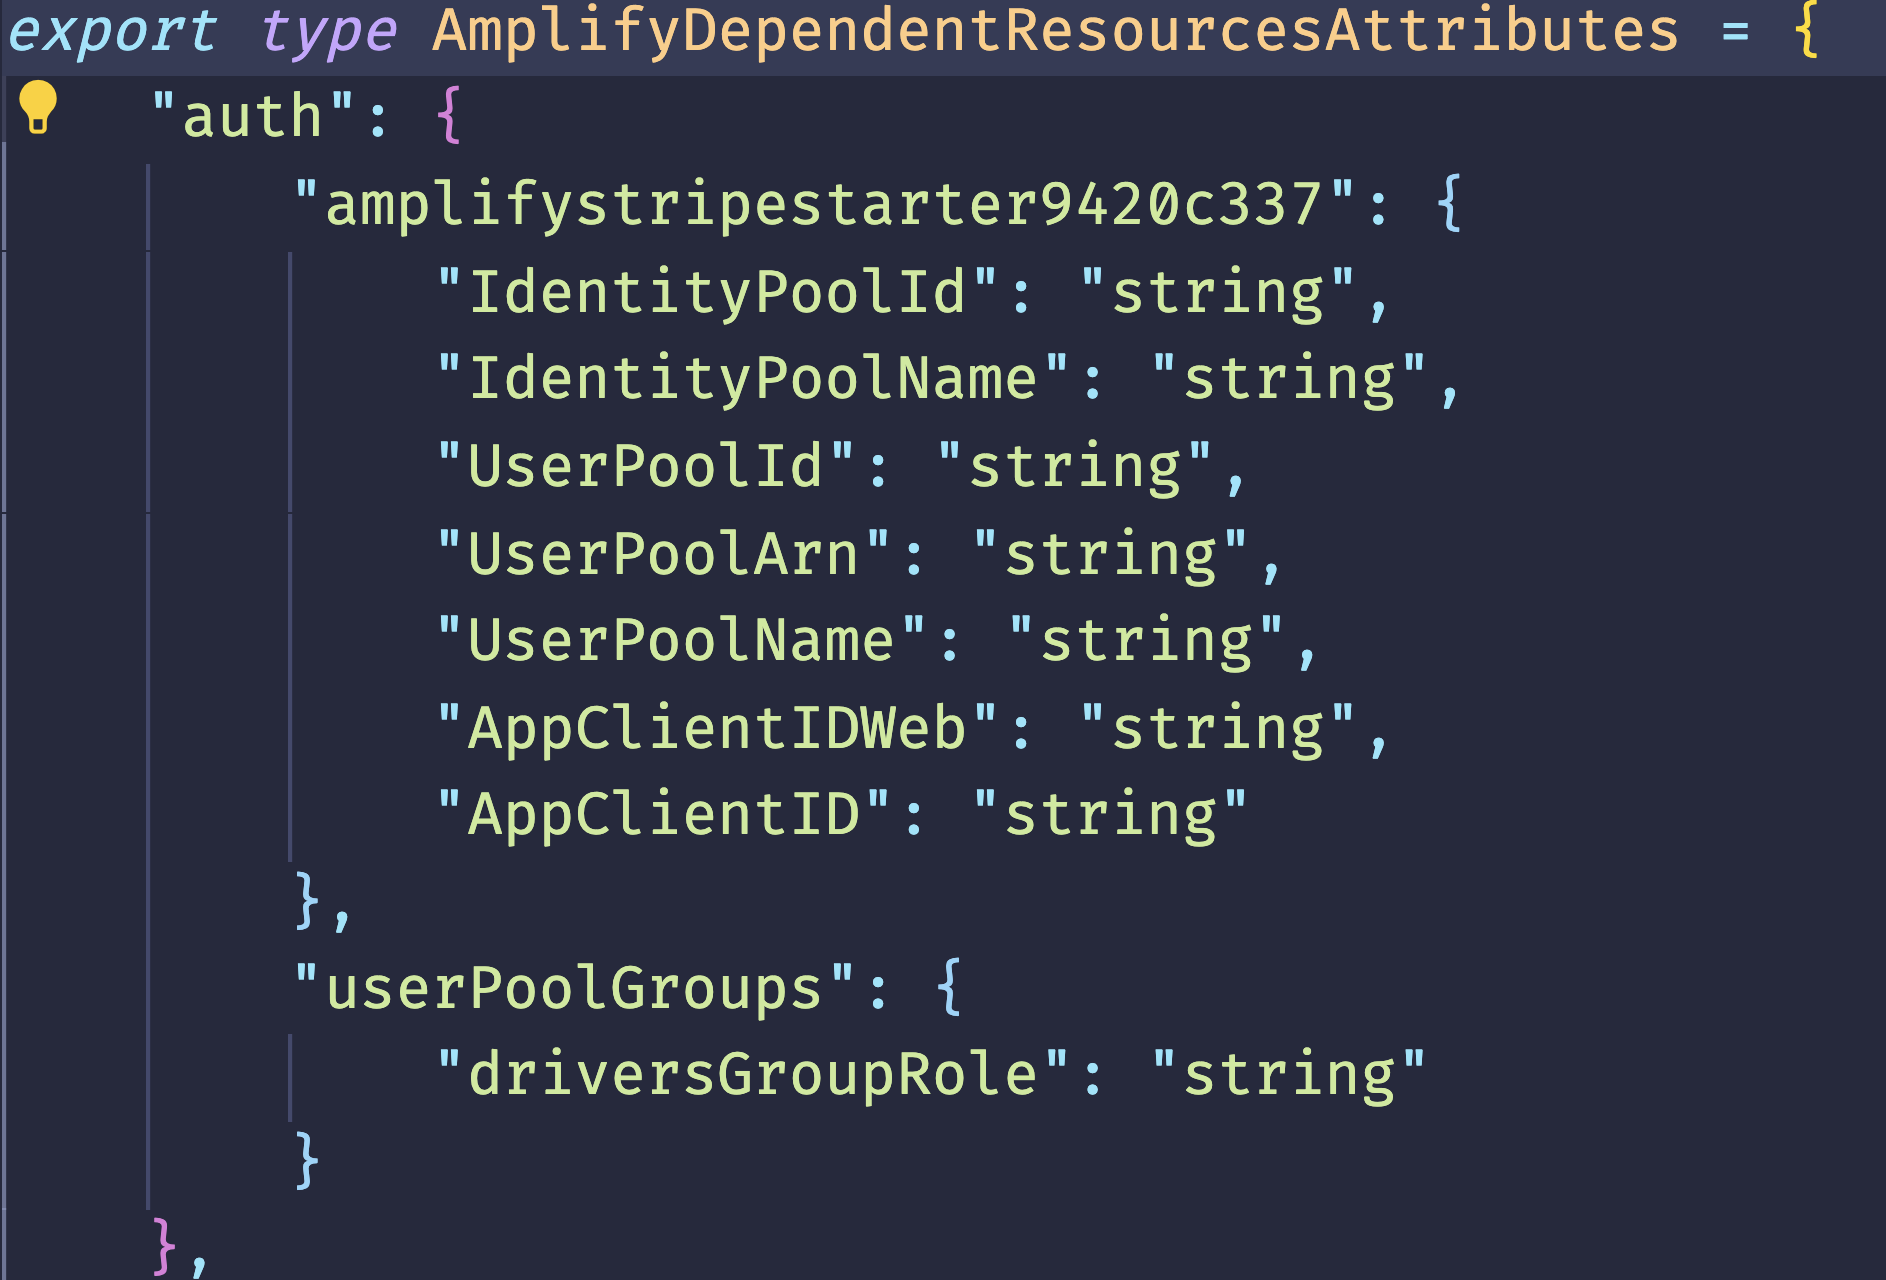
If by chance you just pushed up some resources and aren't seeing values like Arn and region, running amplify build will regenerate this file.
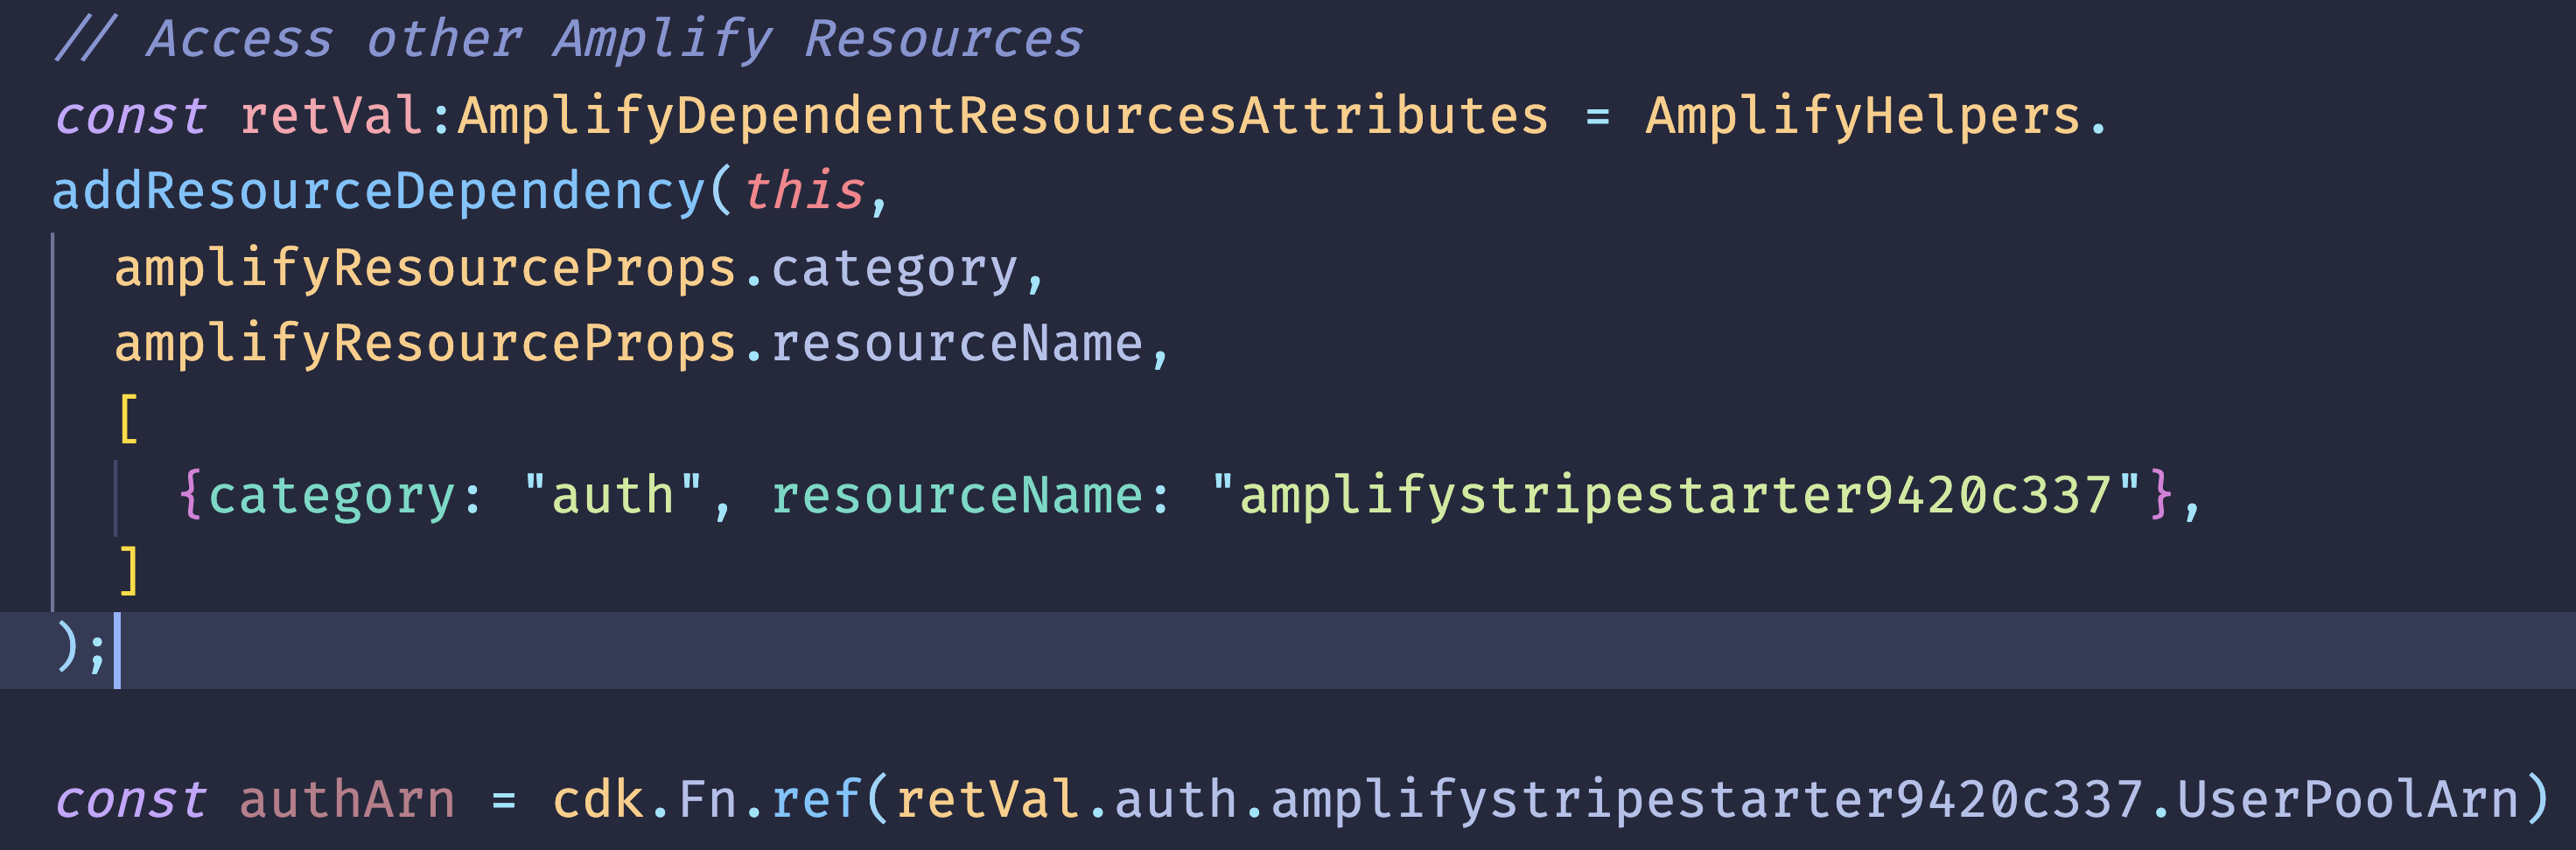
Within the addResourceDependency function, we can specify which of our Amplify resources we would like access to by passing in an array, where each object in it has a category and resourceName key.
Keep in mind that what we have so far is a type representation of what we need (int, string, etc). So from here, we can use a CDK helper method to extract the actual value:
const authArn = cdk.Fn.ref(retVal.auth.amplifystripestarter9420c337.UserPoolArn)
Accessing custom stacks in Lambda
To look at the other side of the fence, suppose we ran amplify push and deployed our custom stack. Then we add a Lambda via amplify add function to our project. In this case, we also need to grant access for our Lambda to call SNS.
To accomplish this, we can take advantage of the custom-policies.json file that we now generate with every Lambda created:
[
    {
        "Action": ["SNS:Publish"],
        "Resource": ["arn:aws:sns:*:*:mySNSTopic-${env}"]
    }
]
Note that we support wildcards for the region and account number. Additionally, we interpolate the Amplify environment by using the ${env} syntax.
Conclusion
In this example, we took a peek at how to subscribe an SQS Queue to an SNS Topic, but the learnings went far beyond that. By adding custom resources with the CDK, pulling in existing resources created with the Amplify CLI, and updating policies so Lambda functions have permissions to call our external resources, users now have the ability to create truly rich applications while minimizing time spent in the AWS Console.
This is just one of aspects of Amplify's new extensibility releases. For a rundown of all the new enhancements and a glimpse into the posts I'll be releasing, checkout my blog post over on A Cloud Guru that covers 5 new Amplify features to take your app to any scale!.
Also, if wanting to tweak values generated by Amplify itself instead of going full custom, checkout my other post showing how to do just that!


