

The fullstack guide to creating AppSync APIs with the AWS CDK
Featured Services: AWS AppSync, CDK, Cognito, NextJS and more!

Overview
AWS AppSync is a managed GraphQL service that helps in building scalable GraphQL APIs.
I've written and talked at length about how you can easily create AppSync APIs by using AWS Amplify.
However, there are times when using Amplify to create your backend isn't the best requirement (that's ok!).
A few reasons why this might be the case:
- Keeping the backend separate from the frontend
- Having complete control over how the data is sent and retrieved
- Making use of other types of AppSync resolvers (HTTP, NONE, etc)
- Integrating newly released features of AppSync/CDK as quickly as possible
For many applications, the above reasons aren't enough to leave the ease and simplicity that Amplify provides. However, this post will provide a sturdy entry point for those wanting to venture down this path and I'll try to call out some of the tradeoffs along the way.
This post will be made up of two applications:
Backend: We'll start here. This will leverage the AWS CDK to create our various services
Frontend: A simple application built with NextJS. We'll use the Amplify libraries to connection our frontend with our backend.
🚨 This post assumes you have both NPM, and a local AWS profile setup. It also assumes you have a basic understanding of AWS and its services.
Initializing our backend
As is best practice, we'll use infrastructure-as-code (IaC) to create a reusable backend. There are many ways to do this: CloudFormation, AWS SAM, Amplify, etc.
Though as mentioned, we'll use the CDK since many teams enjoy having a common language (TypeScript/JavaScript in this case) that they can work with across stacks.
To get started creating a new CDK app, run the following command in your terminal:
mkdir appsync-todo-backend && cd $_ && npx aws-cdk init -l typescript
📝 The above command creates a directory, changes into it, and initializes a new CDK project--using TypeScript as the language.
Once done, open up the project in your code editor (I'll be using VS Code).
Service overview
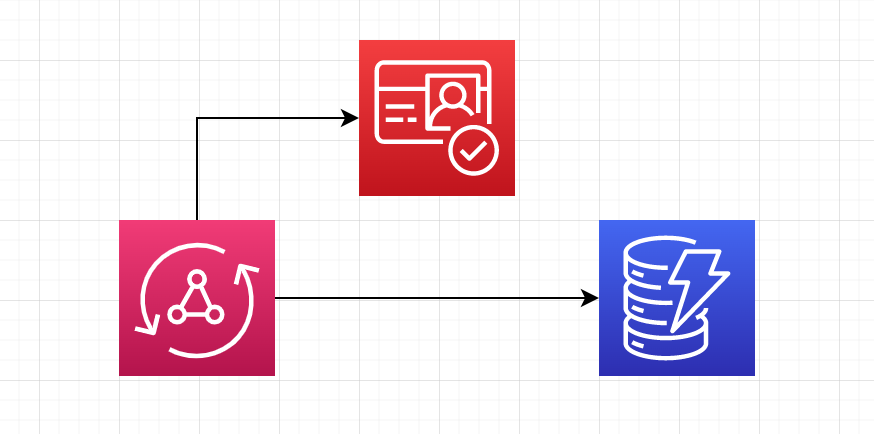
In terms of the services we'll need, there are only a few:
Amazon Cognito: We'll need to create a UserPool, a UserPool group, and a UserPool Client for our API. This will allow users to authenticate with our application.
AWS AppSync: The core of our application. In addition to our schema, this will have our UserPool as the default authorization mode, but also generate a public API key as a secondary mode. In addition, we'll turn on some simple observability settings before constructing our resolvers.
Amazon DynamoDB: In this post, we'll only have a single table called Todos. This table will serve as a datasource for our API.
Setting up Cognito
Open up the appsync-todo-backend-stack.ts file and add in the following imports:
import {
    AccountRecovery,
    CfnUserPoolGroup,
    UserPool,
    UserPoolClient,
    VerificationEmailStyle,
} from 'aws-cdk-lib/aws-cognito'
Then underneath the super(scope, id, props) call, paste in the following:
const userPool = new UserPool(this, 'todoTestUserPool', {
  selfSignUpEnabled: true,
  accountRecovery: AccountRecovery.PHONE_AND_EMAIL,
  userVerification: {
    emailStyle: VerificationEmailStyle.CODE,
  },
  autoVerify: {
    email: true,
  },
  standardAttributes: {
    email: {
      required: true,
      mutable: true,
    },
  },
})
Using the L2 Cognito construct (APIs made for the CDK), we can create a UserPool that allows users to signup with their email and get send a confirmation code to verify their account.
🚨 If coming from Amplify, note that this uses the the default password policy, and is stricter than what Amplify enforces by default. Feel free to change accordingly.
In our app, we will only give Admin users the ability to delete Todo items. To help codify this, we'll create a Cognito User Group. However, the L2 construct we are using doesn't provide a way to create the group. Fortunately, we can drop down to the L1 CloudFormation construct and add it in a few lines of code:
new CfnUserPoolGroup(this, 'TodoUserPoolGroup', {
  userPoolId: userPool.userPoolId,
  groupName: 'Admin',
  description: 'Admin users for the TodoTestAPI',
})
Leveraging the Userpool ID from the last section, we create the group and give it a description.
Lastly, because we'll be leveraging Cognito in the browser, we'll create a web client:
const userPoolClient = new UserPoolClient(this, 'UserPoolClient', {
  userPool,
})
🎉 Just like that, we are done setting up Cognito.
Creating our Todo table
Creating a DynamoDB table is one of the simpler things to do. Start by importing the relevant library parts:
import {
    CfnOutput,
    Duration,
    Expiration,
    RemovalPolicy,
    Stack,
    StackProps,
} from 'aws-cdk-lib'
import { AttributeType, BillingMode, Table } from 'aws-cdk-lib/aws-dynamodb'
From here, we'll create our table just under where we created our UserPool Client:
const todoTable = new Table(this, 'Todo Table', {
  removalPolicy: RemovalPolicy.DESTROY,
  billingMode: BillingMode.PAY_PER_REQUEST,
  partitionKey: { name: 'id', type: AttributeType.STRING },
})
That's it! All of our Todo items will have a unique id field. Similar to Amplify, the database itself will be On Demand.
📝 Note that I'm also adding a
removalPolicy. This is different from Amplify such that if I delete my CDK project, my database will be deleted also since I have aDESTROYpolicy as opposed toRETAIN.
Creating our API Schema
One of the main differences between Amplify and AppSync API development is that AppSync sits one level lower than Amplify.
It still has a concept of directives, however they're less robust in favor of being less opinionated.
To get started creating our schema, create a new file in the lib directory called schema.graphql.
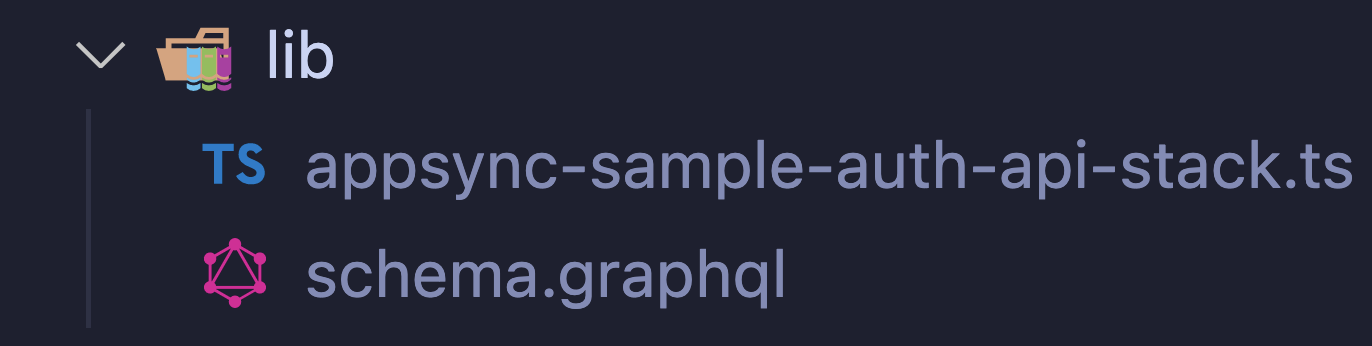
In this file, we'll create our root level types:
type Query {
    getTodo(id: ID!): Todo @aws_api_key @aws_cognito_user_pools
    listTodos: [Todo] @aws_api_key @aws_cognito_user_pools
}

type Mutation {
    addTodo(input: TodoInput): Todo @aws_cognito_user_pools
    updateTodo(input: TodoInput): Todo @aws_cognito_user_pools
    deleteTodo(id: ID!): Todo @aws_cognito_user_pools(cognito_groups: ["Admin"])
}

type Subscription {
    onAddTodo: Todo @aws_subscribe(mutations: ["addTodo"])
}
In the above code snippet, we see that we'll be creating the following actions:
- getTodo: Takes in an
idand returns a singleTodo. - listTodos: Doesn't take in any arguments. Simply returns all of the
Todoitems. - addTodo: Takes in an
inputobject that contains all of the fields needed to create aTodo. - updatedTodo: Same as adding a
Todo, except will update field contents - deleteTodo: Takes in an
idand returns theTodothat it deleted. - onAddTodo: A listener that will create a websocket connection to listen for whenever a
Todois created.
By design, every AppSync API needs some level of authorization. There is no such thing as a public AppSync endpoint. At best, we can create a public API key--which we'll do in the next section.
However, it's possible to layer authorization rules as well. The getTodo field is a great example of this. Note that we have the following:
getTodo(id: ID!): Todo @aws_api_key @aws_cognito_user_pools
The @aws_api_key tells AppSync that this field (rather, the read ability) can be accessed if the request is passed an API key.
Additionally, the @aws_cognito_user_pools directive acts similarly to the
@auth(rules: {allow: private) directive in Amplify by allowing access to logged in users.
📝 Note that the
@aws_cognito_user_poolsdirective can be expanded to only authorize particular Cognito groups (as shown on thedeleteTodofield).📝 This is likely the biggest transition when leaving the guardrails of an Amplify project. Directives such at
@defaultand concepts such as only allowingowneraccess are not defined in a pure AppSync application.
With our schema created, the last thing to do is to add the Todo type and it's corresponding input.
type Todo {
    __typename: String!
    id: ID
    createdAt: AWSDate!
    updatedAt: AWSDate!
    name: String!
    owner: String!
    description: String
}

input TodoInput {
    __typename: String!
    id: ID
    createdAt: AWSDate!
    updatedAt: AWSDate!
    name: String!
    owner: String!
    description: String
}
While not all of these fields are necessary, I'm choosing to add them so that in a later post, we can see how VTL can be used to set the for us.
Creating our AppSync API
At the time of this writing, there are no official L2 constructs for AppSync. However, there is a package that is nearing release 😊
We'll make use of this project by first installing it in our project:
npm install @aws-cdk/aws-appsync-alpha
📝 For posterity, I'm using version
2.33.0-alpha.0
Once installed, open up your CDK stack and import the following:
import * as path from 'path'
import {
    GraphqlApi,
    Schema,
    AuthorizationType,
    FieldLogLevel,
    MappingTemplate,
    PrimaryKey,
    Values,
} from '@aws-cdk/aws-appsync-alpha'
From here, let's create our API by pasting in the following:
const api = new GraphqlApi(this, 'TodoTestAPI', {
  name: 'TodoTestAPI',
  schema: Schema.fromAsset(path.join(__dirname, 'schema.graphql')),
  authorizationConfig: {
    defaultAuthorization: {
      authorizationType: AuthorizationType.USER_POOL,
      userPoolConfig: {
        userPool,
      },
    },
    additionalAuthorizationModes: [
      {
        authorizationType: AuthorizationType.API_KEY,
        apiKeyConfig: {
          name: 'simple api key',
          description: 'a simple api key',
          expires: Expiration.after(Duration.days(30)),
        },
      },
    ],
  },
  logConfig: {
    fieldLogLevel: FieldLogLevel.ALL,
  },
  xrayEnabled: true,
})
Breaking things down a bit, after initializing our API, we give it a name and tell it where to find our schema. The path module is handy to make sure it always find the file even after the project builds.
Next, we tell AppSync that our default auth mode is our UserPool. This will become more apparent when we work with our frontend. Additionally we create an API key and expire it after 30 days.
The last parts of our API are to help in observability. We're logging the requests and responses to CloudWatch as they are made, and turning on AWS Xray so that we can observe any latency of our API.
Attaching datasources to our AppSync API
We have our UserPool, we have our API and Todo table. Now it's time to bring it all together.
📝 This is also where the newer AppSync package we installed shines.
The MappingTemplate property has several methods on it that greatly simplify interacting with data sources, and in our case, completely remove the need to write VTL.
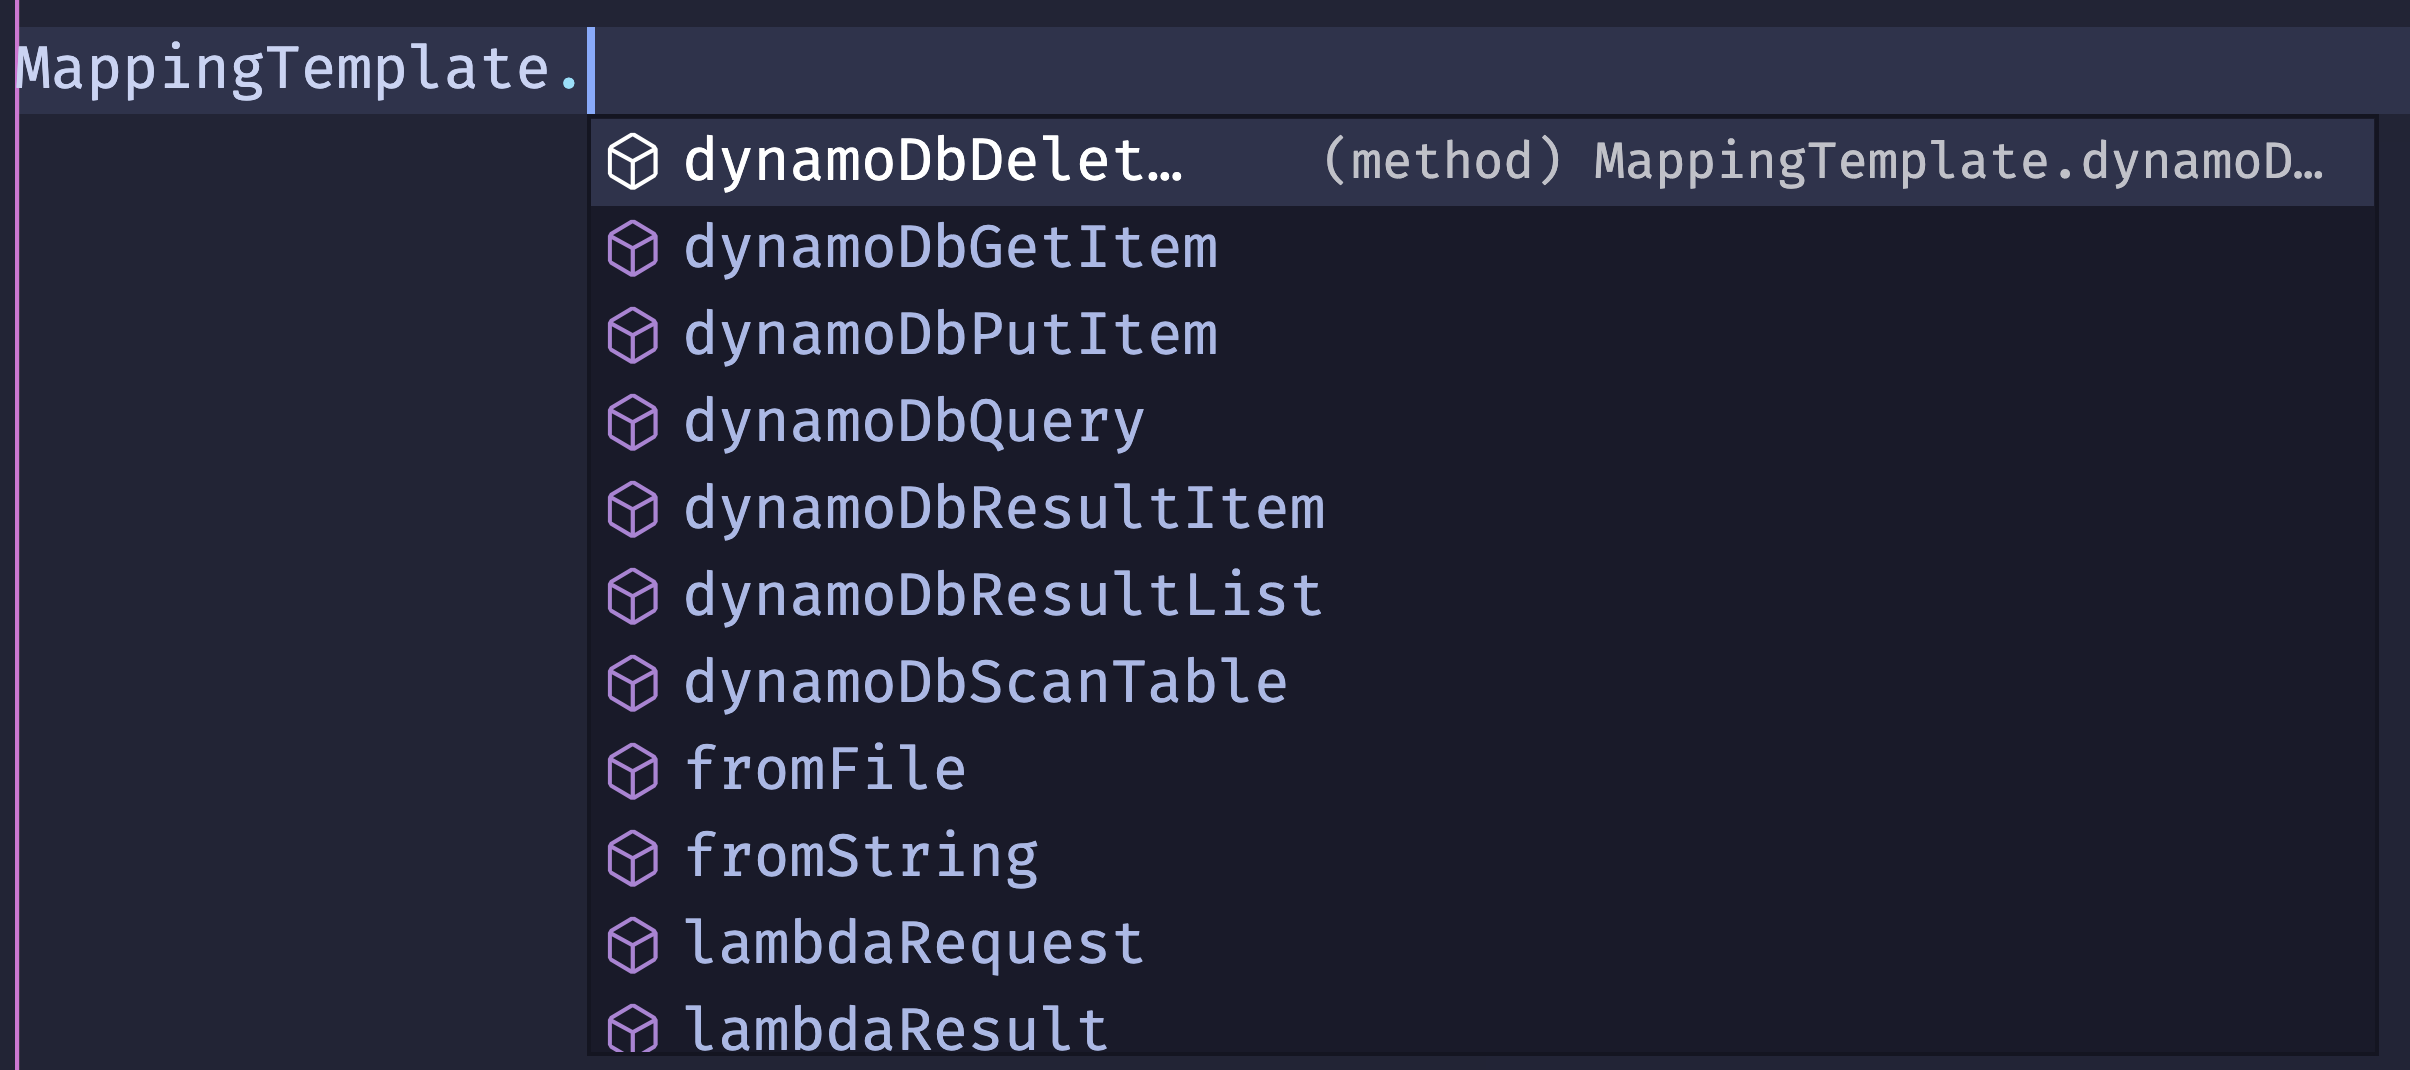
Let's see this in action by pasting in the following snippet:
api
.addDynamoDbDataSource('TodoTableQueryGetTodo', todoTable)
.createResolver({
  typeName: 'Query',
  fieldName: 'getTodo',
  requestMappingTemplate: MappingTemplate.dynamoDbGetItem('id', 'id'),
  responseMappingTemplate: MappingTemplate.dynamoDbResultItem(),
})

api
.addDynamoDbDataSource('TodoTableQueryScanTodos', todoTable)
.createResolver({
  typeName: 'Query',
  fieldName: 'listTodos',
  requestMappingTemplate: MappingTemplate.dynamoDbScanTable(),
  responseMappingTemplate: MappingTemplate.dynamoDbResultList(),
})
Above, we assign our todoTable as a datasource and use the createResolver method to map our GraphQL request to our DynamoDB table. Specifically, in the first section we query the table, while in the second section we scan the table.
Worth calling out is the MappingTemplate.dynamoDbGetItem('id', 'id') part. As maybe expected, the first parameter says "What is the primary key of this table?". The second part says, "Where on this incoming AppSync request can I find it?"
Be default, the second argument will look at the $context.arguments property of our request since it contains all the information about what variables got passed. Since our id a top-level variable (we're not nesting it), we pass id. This will now use the $context.arguments.id field.
Add in the remaining resolvers to complete our API:
api
  .addDynamoDbDataSource('TodoTableMutationAddTodo', todoTable)
  .createResolver({
    typeName: 'Mutation',
    fieldName: 'addTodo',
    requestMappingTemplate: MappingTemplate.dynamoDbPutItem(
      PrimaryKey.partition('id').auto(),
      Values.projecting('input')
    ),
    responseMappingTemplate: MappingTemplate.dynamoDbResultItem(),
  })

api
  .addDynamoDbDataSource('TodoTableMutationUpdateTodo', todoTable)
  .createResolver({
    typeName: 'Mutation',
    fieldName: 'updateTodo',
    requestMappingTemplate: MappingTemplate.dynamoDbPutItem(
      PrimaryKey.partition('id').is('input.id'),
      Values.projecting('input')
    ),
    responseMappingTemplate: MappingTemplate.dynamoDbResultItem(),
  })

api
  .addDynamoDbDataSource('TodoTableMutationDeleteTodo', todoTable)
  .createResolver({
    typeName: 'Mutation',
    fieldName: 'deleteTodo',
    requestMappingTemplate: MappingTemplate.dynamoDbDeleteItem('id', 'id'),
    responseMappingTemplate: MappingTemplate.dynamoDbResultItem(),
  })
Where the first set of resolvers represented the Querys of our API, these represent the Mutations.
Two parts worth calling out:
On the addTodo mutation
requestMappingTemplate: MappingTemplate.dynamoDbPutItem(
  PrimaryKey.partition('id').auto(),
  Values.projecting('input')
),
- The
idof ourTodobeing created is automatically generated. Values.projecting('input')takes in the path of where we would like to accept our arguments, starting with the$context.argumentsfield. Recall ouraddTodomutation has the signatureaddTodo(**input**: TodoInput): Todo.
On the updateTodo mutation
PrimaryKey.partition('id').is('input.id'),
- The primary key of our table is
id. We traverse the incoming request by going to ourinputand then theidfield on it.
🎉 That's it! We now have a complete AppSync API with API Key and Cognito authorization.
Exporting values to a file
We have our API, but our frontend needs to make use of them. Let's export them to a file.
To export variables we use the CfnOutput function. Add in the following:
new CfnOutput(this, 'UserPoolId', {
  value: userPool.userPoolId,
})

new CfnOutput(this, 'UserPoolClientId', {
  value: userPoolClient.userPoolClientId,
})

new CfnOutput(this, 'GraphQLAPIURL', {
  value: api.graphqlUrl,
})
new CfnOutput(this, 'GraphQLAPIKey', {
  value: api.apiKey as string,
})

new CfnOutput(this, 'GraphQLAPIID', {
  value: api.apiId,
})
Those are all of the values that our frontend needs.
When we deploy the project, those values will be printed to our terminal. However, we can go one step further and persist them to a local file.
Run the following command to deploy our app and generate a cdk-outputs file:
npx aws-cdk deploy --outputs-file ./cdk-outputs.json
Interacting with a NextJS frontend
Having a deployed backend to the cloud is great, but let's take it a step further by calling our API from a frontend.
Outside of our current directory, run the following command:
npx create-next-app todo-frontend
This will scaffold out a new NextJS application. Once done being created, open it up in your code editor.
To integrate with the backend we created, we'll need to install a few packages:
npm i @aws-amplify/ui-react aws-amplify
The first package is the Amplify UI library. This provides several react primitives as well as a full authentication flow. The second package is the Amplify JavaScript library. This allows us to interact with our backend.
Now that those packages are installed, open up the _app.js file and replace it with the following:
import '../styles/globals.css'
import '@aws-amplify/ui-react/styles.css'
import { AmplifyProvider } from '@aws-amplify/ui-react'
import { Amplify } from 'aws-amplify'
import config from '../src/aws-exports'

Amplify.configure(config)

function MyApp({ Component, pageProps }) {
    return (
        <AmplifyProvider>
            <Component {...pageProps} />
        </AmplifyProvider>
    )
}

export default MyApp
By wrapping our application in an AmplifyProvider we allow the styles and user session to persist throughout our application.
Note that this file is expecting a config file coming from a src directory. Instead of manually adding in our API details, let's have Amplify create it for us.
In your terminal run the following command:
amplify init
🚨 If you don't already have the amplify CLI installed globally, run the following command:
npm i -g @aws-amplify/cli
After following the prompts to setup your application, run this command in your terminal to bring in your config:
amplify add codegen --apiId YOUR_API_ID
Recall that we put our API ID in our exports file. Be sure to replace YOUR_API_ID with that value.
Upon running this command, not only will the aws-exports file be populated with our API credentials, but all of our queries, mutations, and subscriptions have been automatically generated for us as well!
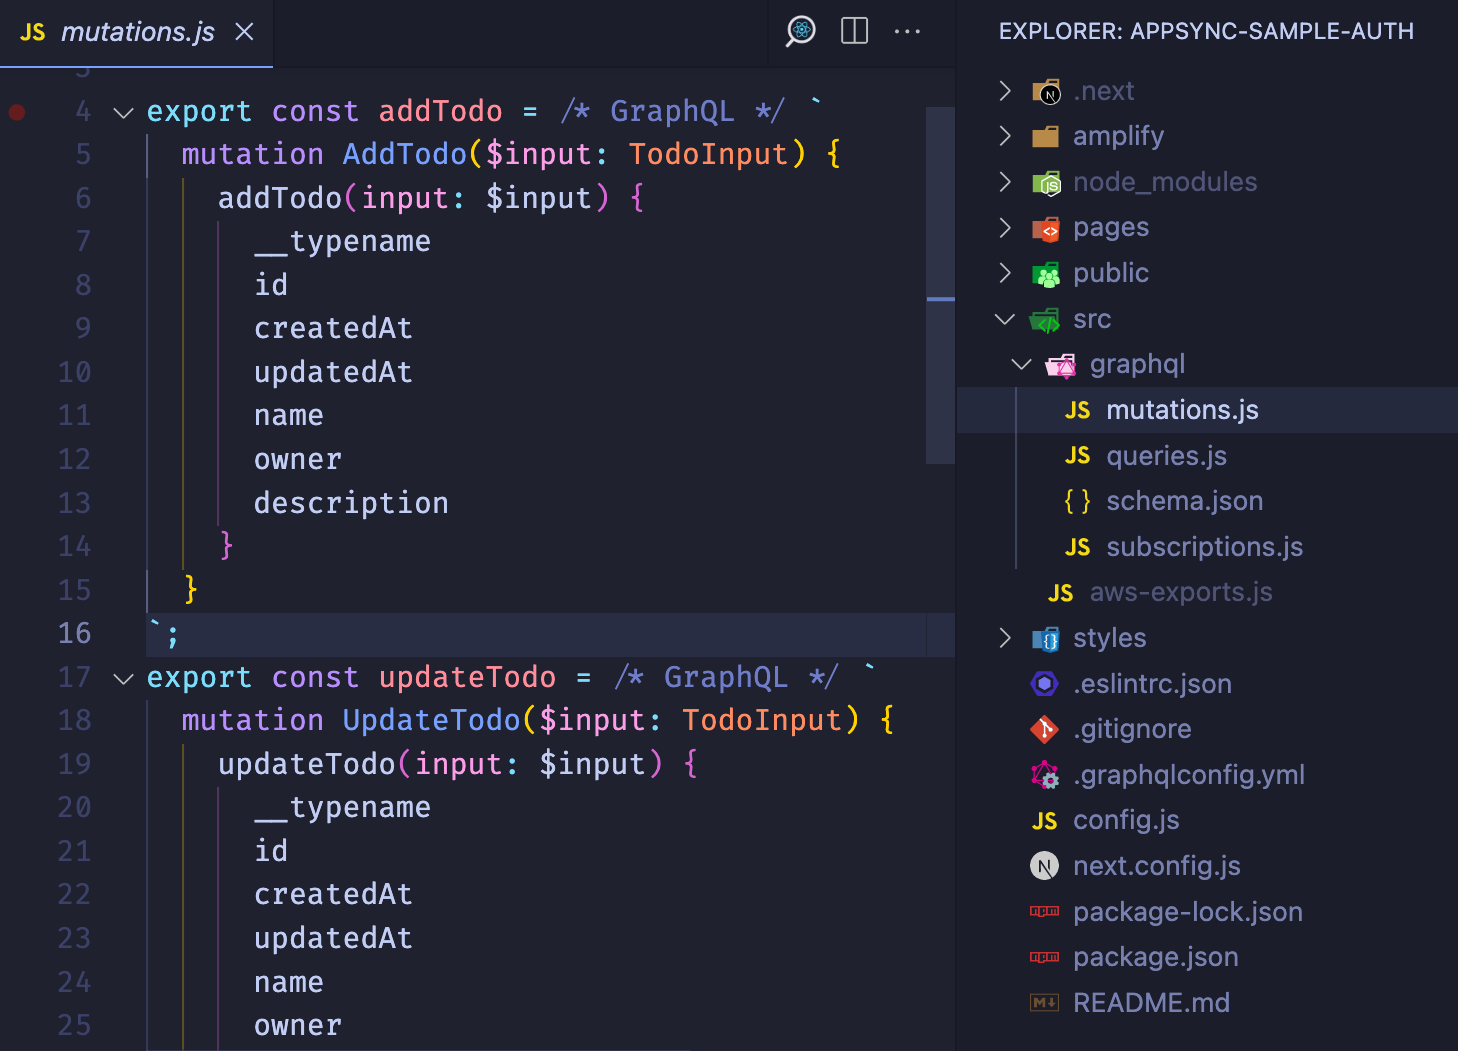
Anytime the backend schema changes, simply run amplify codegen to populate those changes!
The last part we need to add is our Cognito service so that users can log in/out. Fortunately, we logged all of the variables we need in our backend.
Add in the relevant variables so that the final out of the aws-exports file looks similar to the following:
// note that Auth is top-level, whereas the API stuff is not
const awsmobile = {
    Auth: {
        region: 'us-east-1',
        userPoolId: 'us-east-1_YOUR_REGION_ID',
        userPoolWebClientId: '6vstsuciYOURCLIENTID',
    },
    aws_project_region: 'us-east-1',
    aws_appsync_graphqlEndpoint:
        'https://your-api.appsync-api.us-east-1.amazonaws.com/graphql',
    aws_appsync_region: 'us-east-1',
    aws_appsync_authenticationType: 'AMAZON_COGNITO_USER_POOLS',
    aws_appsync_apiKey: 'da2-YOUR-API-KEY',
}

export default awsmobile
🎉 That's it! To test out the auth flow, head to pages/index.js and wrap the default export in a withAuthenticator component
Conclusion
This project was a lot of fun to put together and really showcases how Amplify doesn't have to be used holistically, but rather in pieces that best fit your use case. Leveraging the CDK to build your backend is not only an excellent choice for many apps, but allows teams to become modular and form their own opinions on certain aspects of their project.
Code for this repo can be found here. And likewise, if wanting to see the API calls needed to verify the Todo API, checkout the relevant code here.
Note that this solution doesn't use VTL, and for some apps, that's fine. But most apps will want fine-grained authorization, pagination, filtering and default field assignment.
In those use cases, a little VTL can go a long way, and we'll explore those topics in a followup post!
Until then, if you enjoyed this article, I'd appreciate a share on whatever platforms you use most or feel free to say to me on Twitter 👋 🦦


